
Give your room a whole new personality just by changing up the curtains. Whether you’re making new curtains from scratch or simply adding the tab tops, this design is perfect for stationary panels — and you can customize the look with mix-and-match fabrics or embellishments. Here we go!
Tab Top Curtains
Level: Intermediate
What You Need
Instructions
1. Cut the Panel Fabric
The length and width of your curtain panels will depend on the size and placement of the windows, plus the hem allowances. To figure out how much fabric to use for your panels, estimate that you’ll need about 1½ to 2 times the fullness of your window.
Add your preferred hem allowance on the sides and the bottom edge, then add another ½” on the top edge — you won’t need a large hem at the top because tab top curtains have a fabric facing to enclose the top edge.
Cut out your panels, then cut a facing piece for each panel. The facing should be the same width as the curtain panel, and about 3″ to 4″ in length.
Pro Tip: If you have plenty of fabric to work with, make the curtain panels a little longer than you think you’ll need. That way you can try the panels out on your curtain rod before you hem them.
2. Determine Tab Length
Fold a strip of fabric over the curtain rod and pin the length you want your tabs to be. (As a rule of thumb, the curtain’s top edge should hang about 2″ to 4″ below the rod.) Measure the length you pinned, then add 1″ to account for the ½” seam allowances at either end of the tab.
3. Cut ‘Em Out
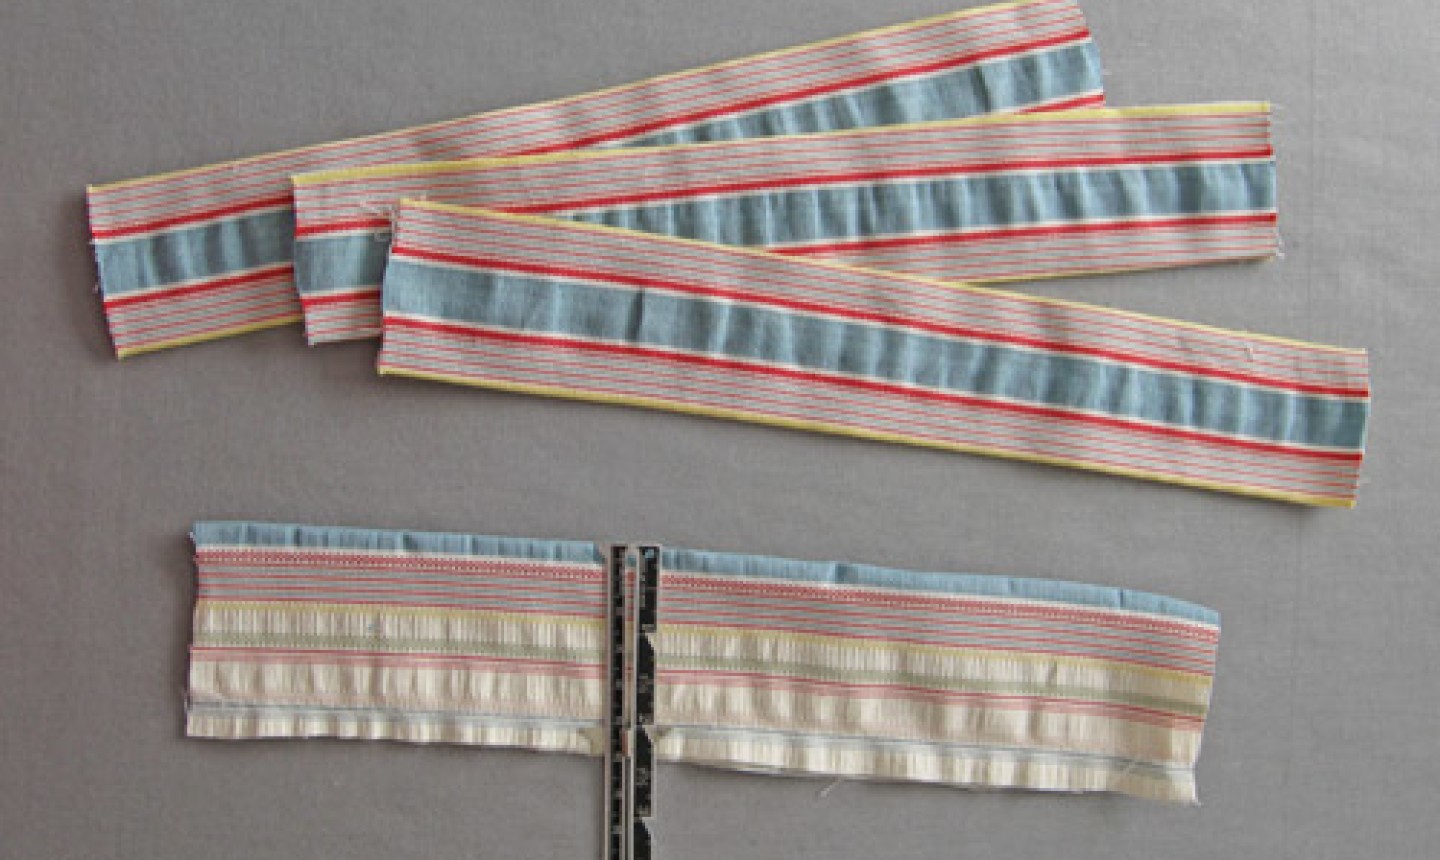
To determine how many tabs you’ll need, put one at both outside edges of the curtain. Then space the rest out evenly, around 6″ to 8″ apart.
The width of the tabs will usually be around 1½” to 2″. For a 2″ width, start by cutting out pieces with a 5″ width (and the length you decided on in Step 1). You can also cut a continuous length at a 5″ width and sew the long edges together. Either way, turn your fabric right side out and press it flat.
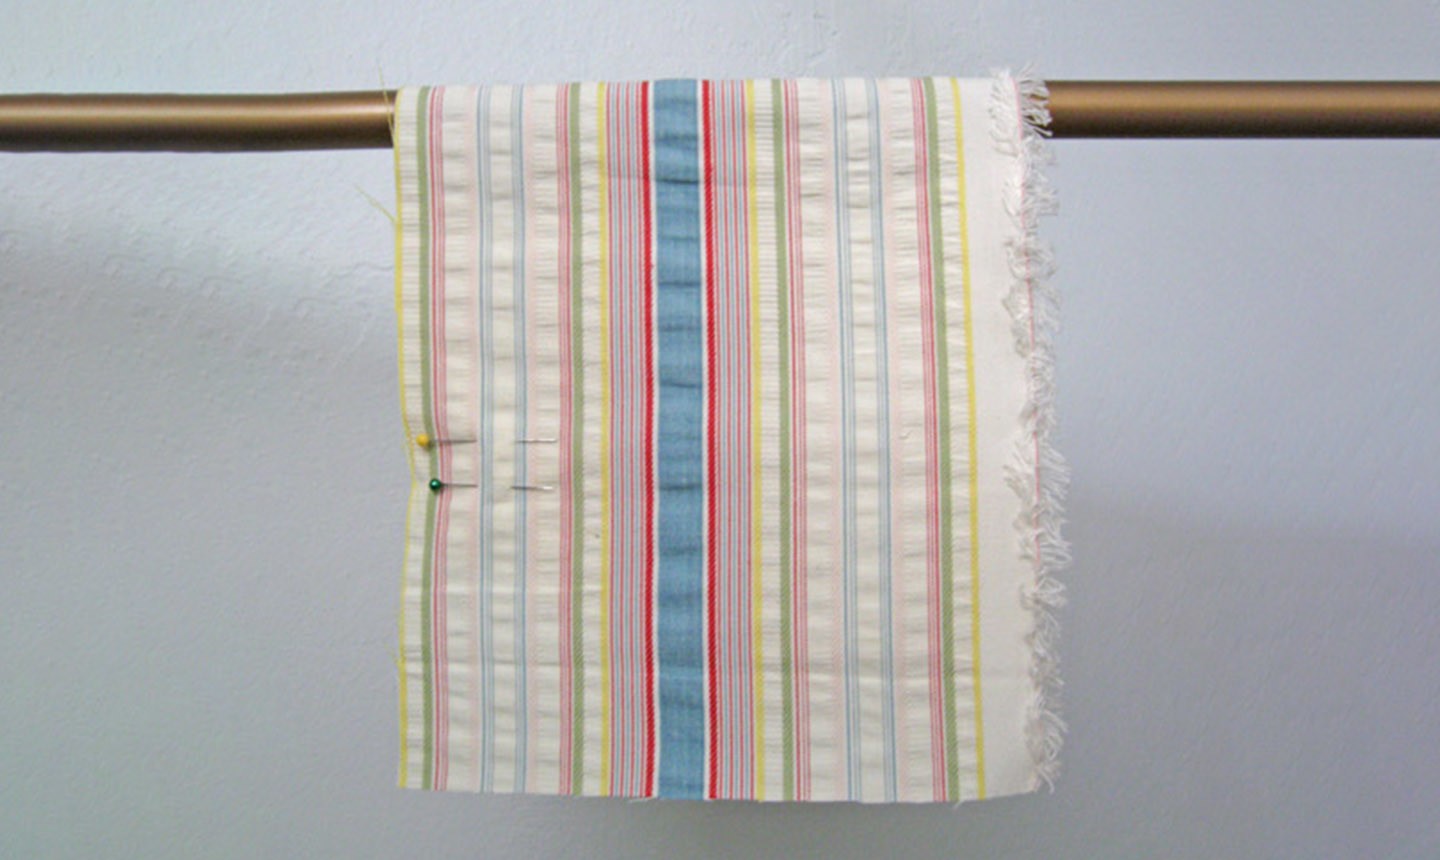
4. Finish the Panel Edges
To finish your curtain edges, fold the fabric over twice on each side and stitch to create a clean edge. If you know the exact length you want, you can also hem now (or wait and do that as a last step). Save yourself time by using a longer stitch length, since curtain seams typically won’t go through the same wear-and-tear as clothes.
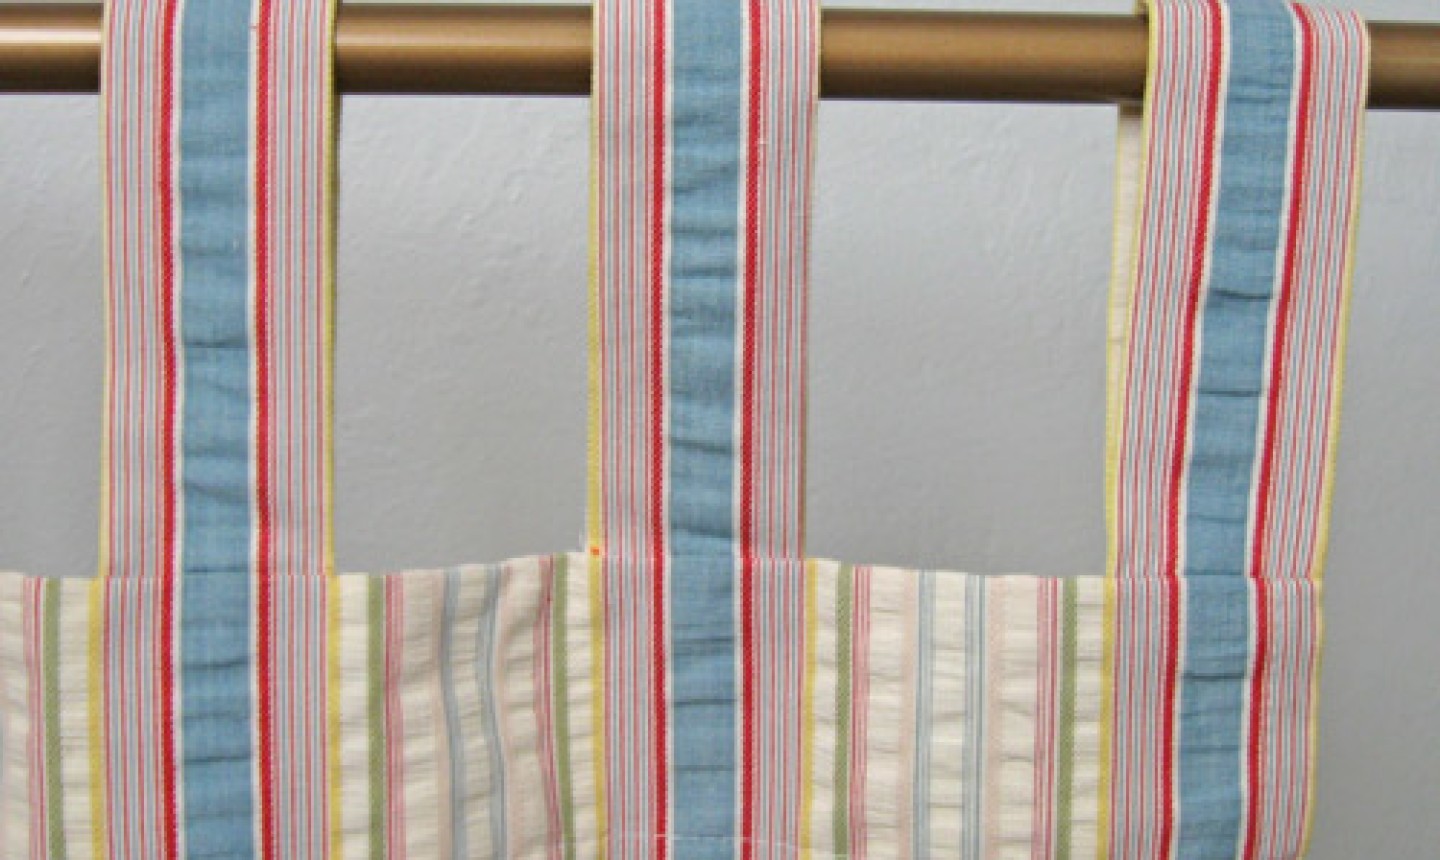
5. Attach the Tabs
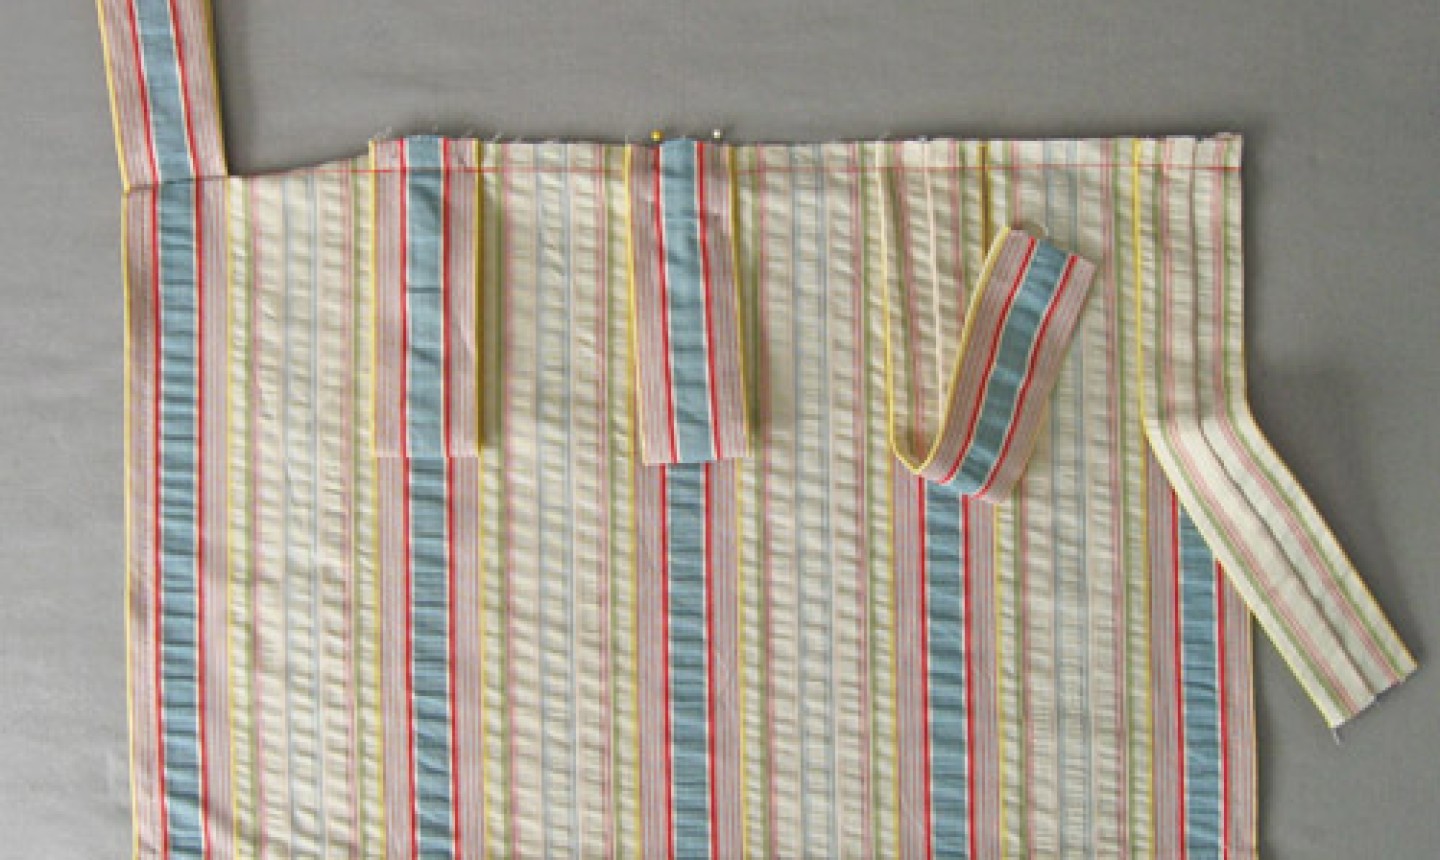
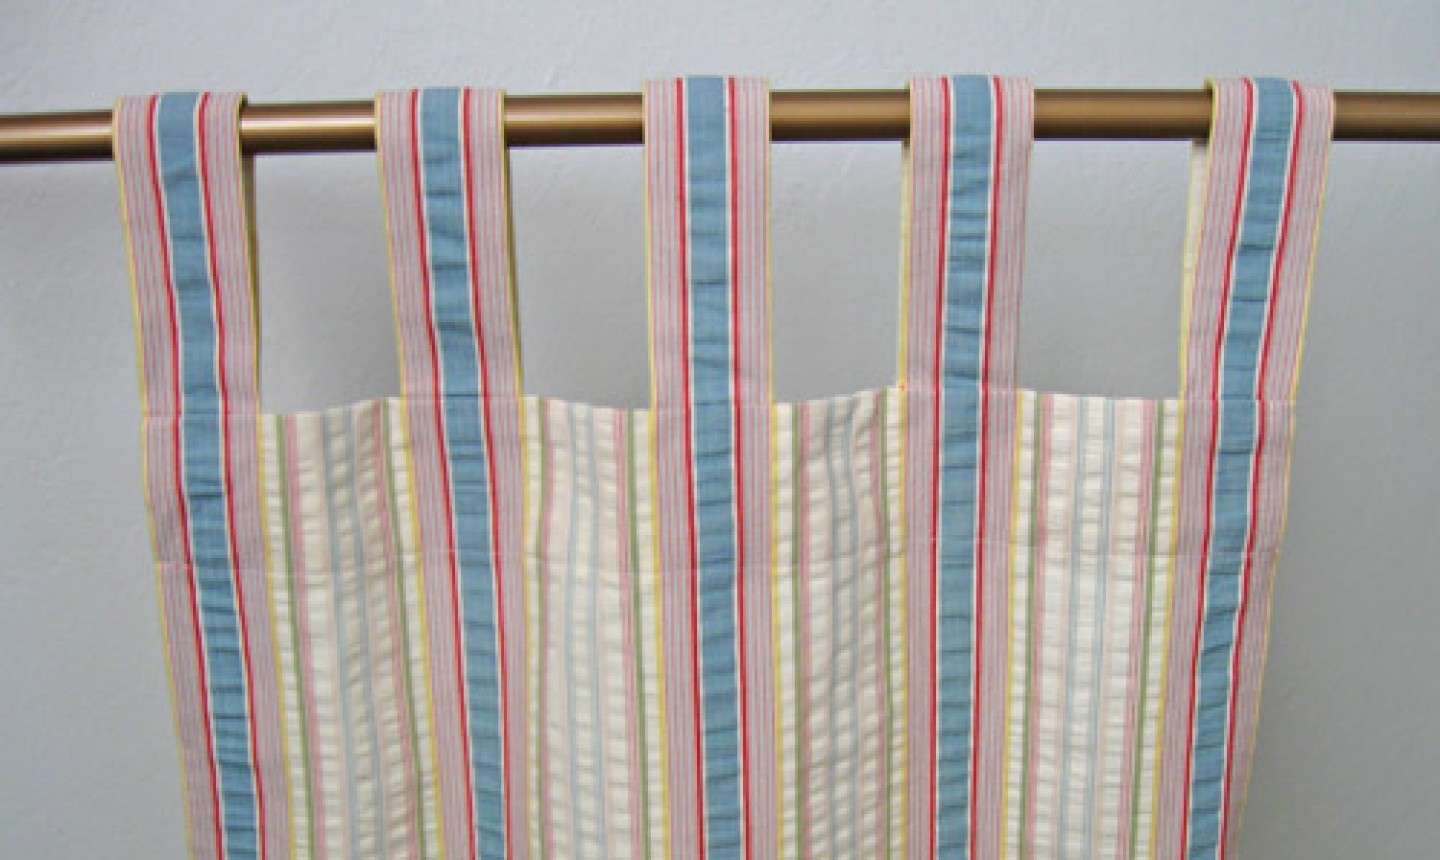
Pin the tabs onto your curtain panel. If your fabric is striped, match the stripes on the tabs to the ones on the panel. Sew across the top using a ½” seam allowance.
Good to Know: If your fabric is heavy or thick, you’ll want to space the tabs further apart. That will make them slide more smoothly on the curtain rod, making it easier to push the curtain panel open at either side of the window.
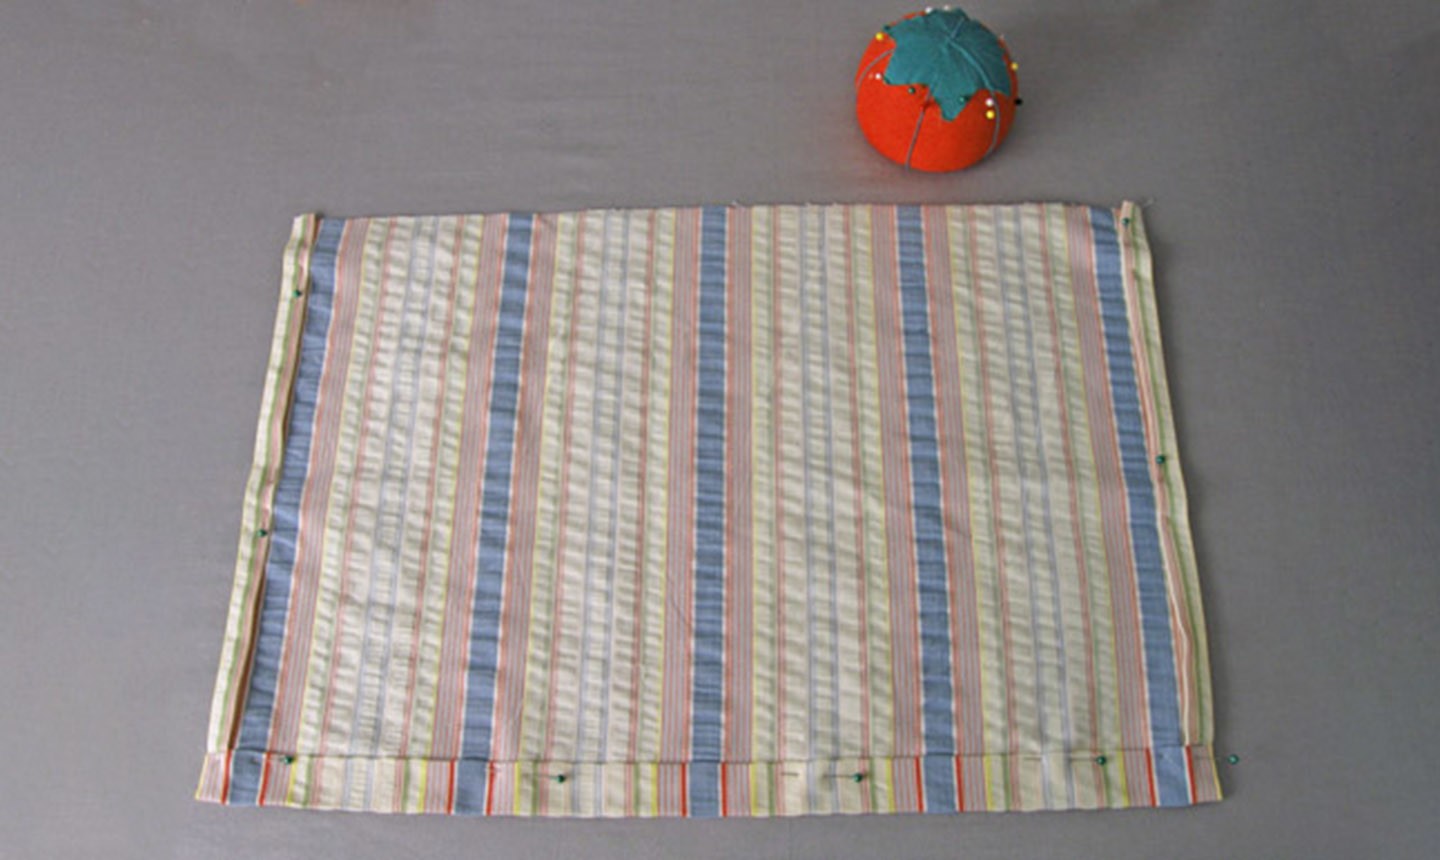
6. Attach the Facing
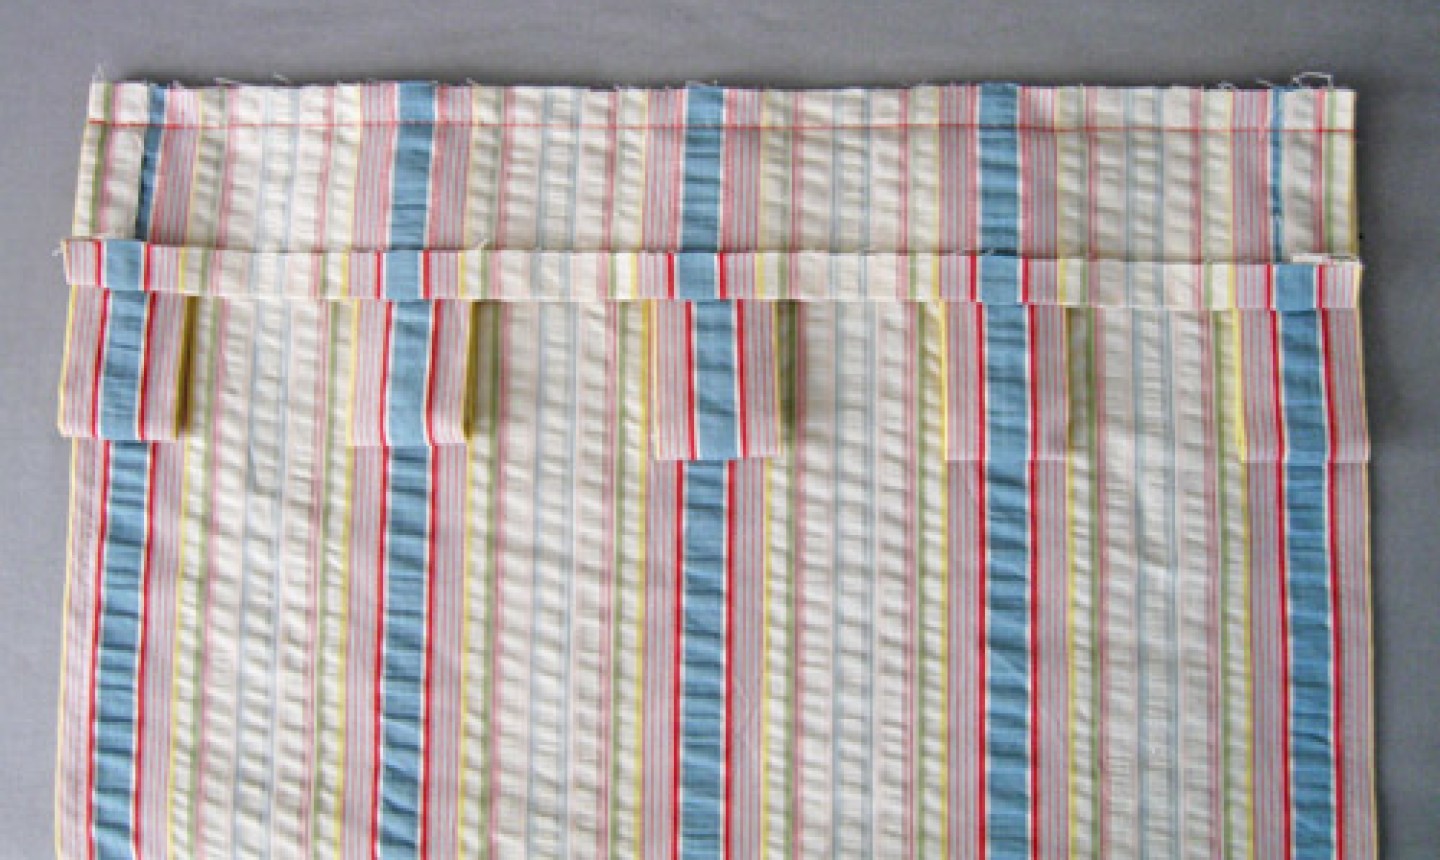
Fold the side and bottom edge of the facing piece to match the finished width of the finished curtain panel. Press. Pin the facing to the curtain panel, right sides together, then stitch across the top edge seam allowance.
7. Press the Facing
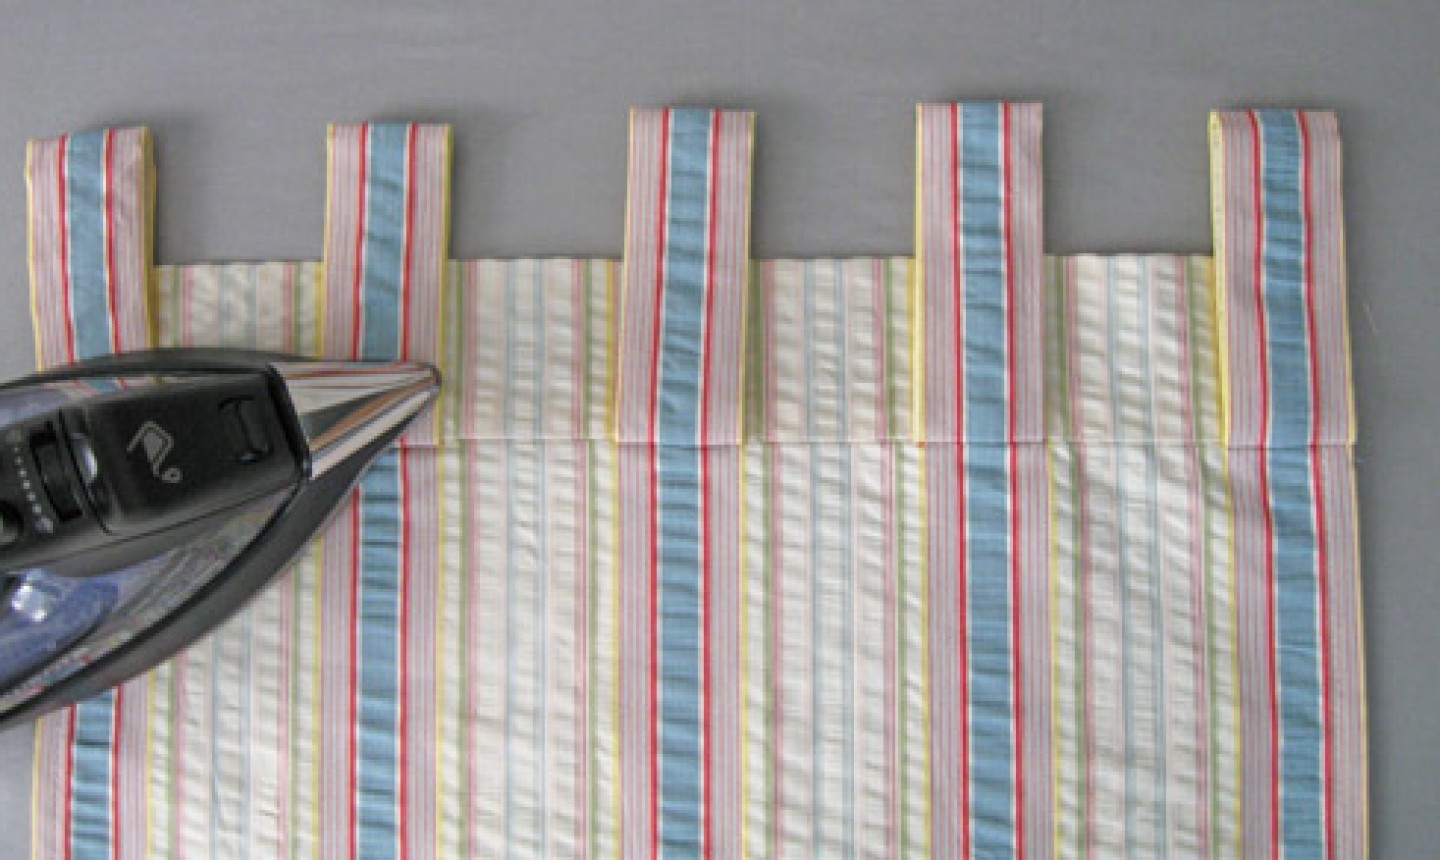
Press the facing and tabs upward to create a crisp edge.
8. Sew the Facing
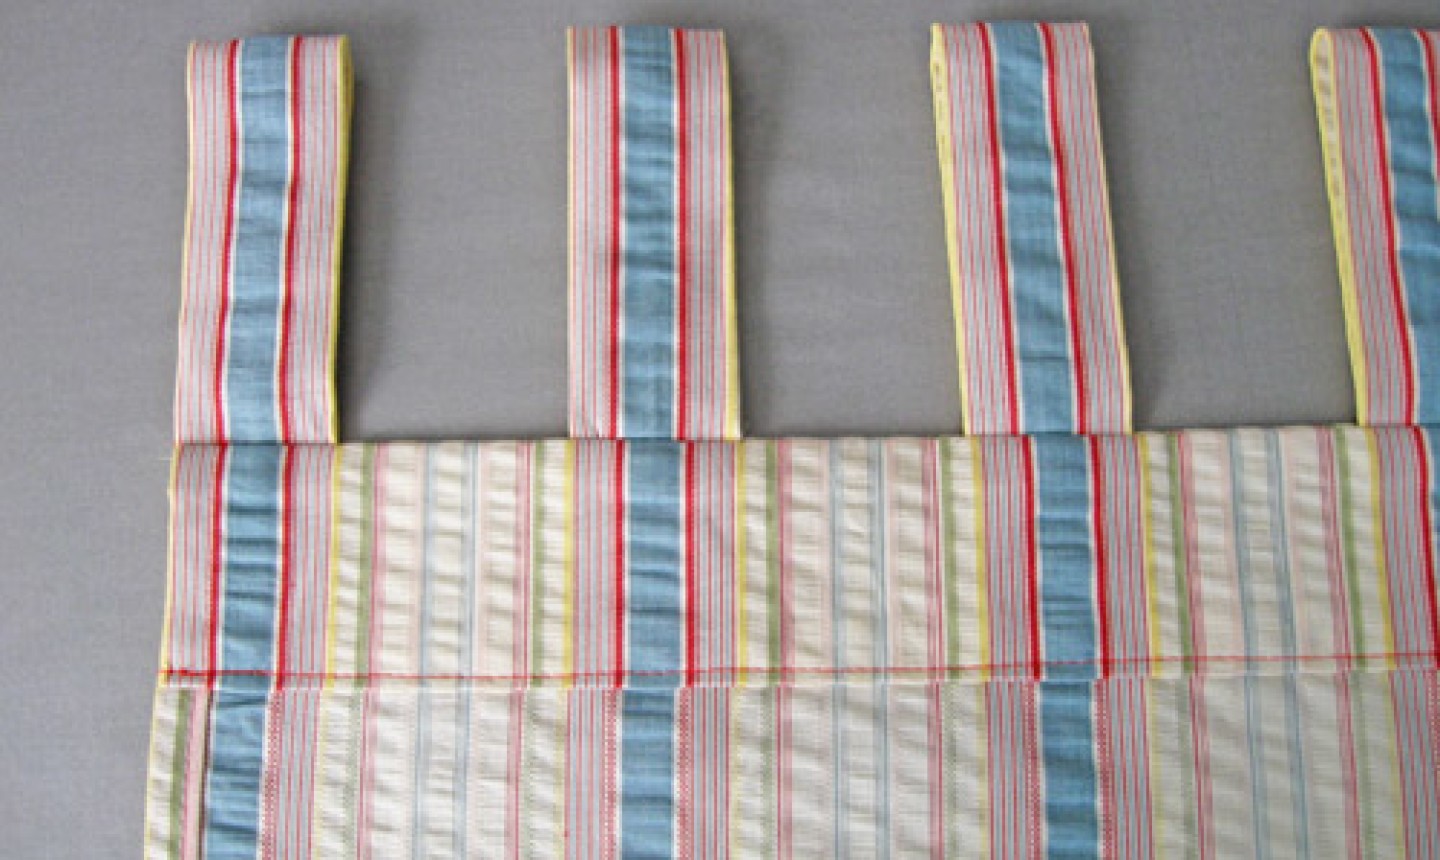
Turn the panel over and press the facing down at the top edge, making sure to keep the tabs extended. Stitch across the bottom of the facing to enclose the top edge. In the image above, the red thread shows the stitching line. If you want, you can stitch across the sides of the facing as well, but it’s not required.
Your freshly-sewn curtains are ready to be hung!
Hi, can you post how to do a Tapered valance and a Tuck Valance for beginners. I am doing a course in Drapery Making