
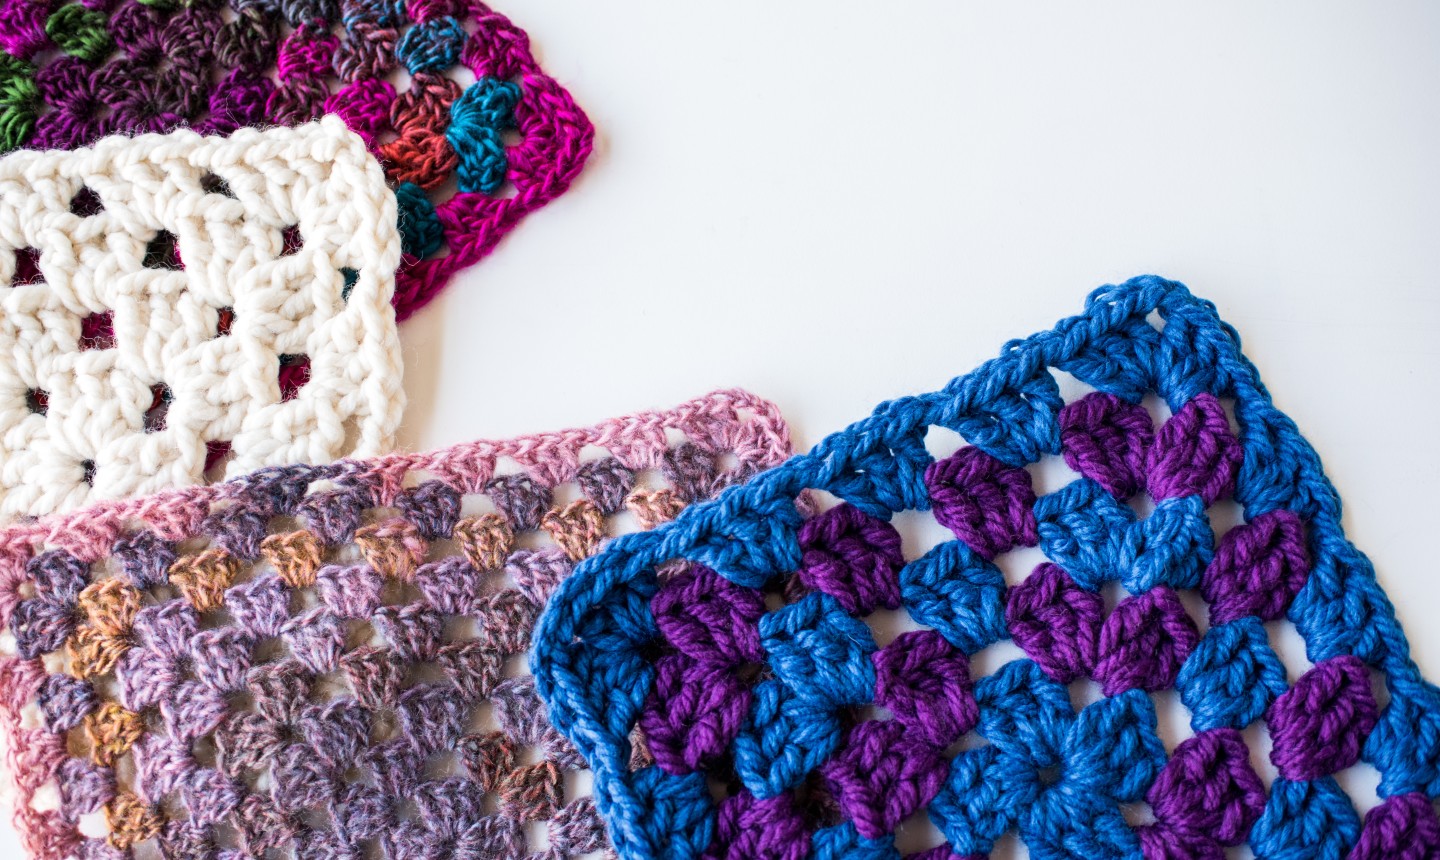
You gotta love the granny! Even if you don’t crochet, you can probably pick out a classic granny square afghan from a lineup.
Two factors account for the granny square’s icon status: simplicity and versatility. A solid square is straightforward and repetitive, but then there are a million ways to riff off that simple square — from playing with color to changing up the shape and more.
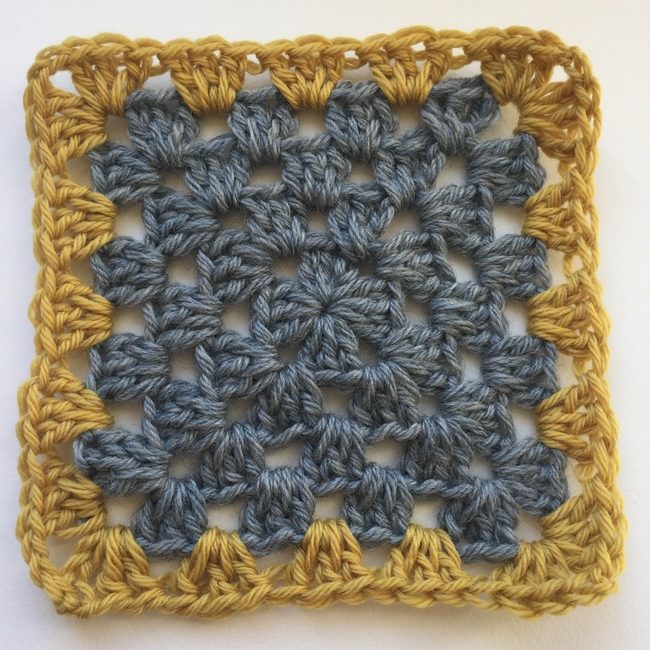
Classic Granny Square
Level: Easy
What You Need
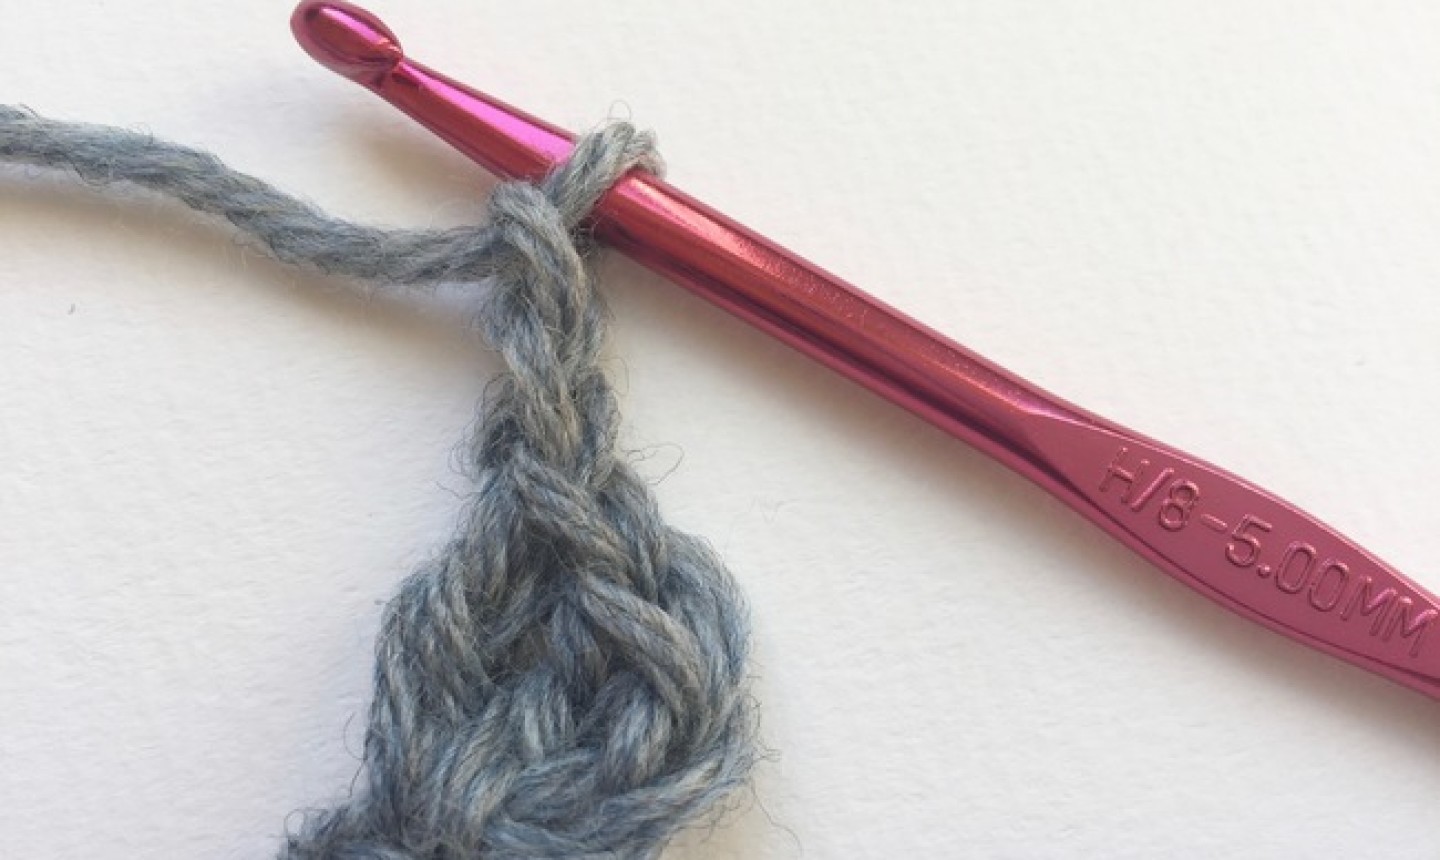
You can crochet a granny square using any type of yarn and any size crochet hook. This tutorial uses a basic worsted weight yarn and size H/8 5mm crochet hook.
Abbreviations
Instructions
Round 1
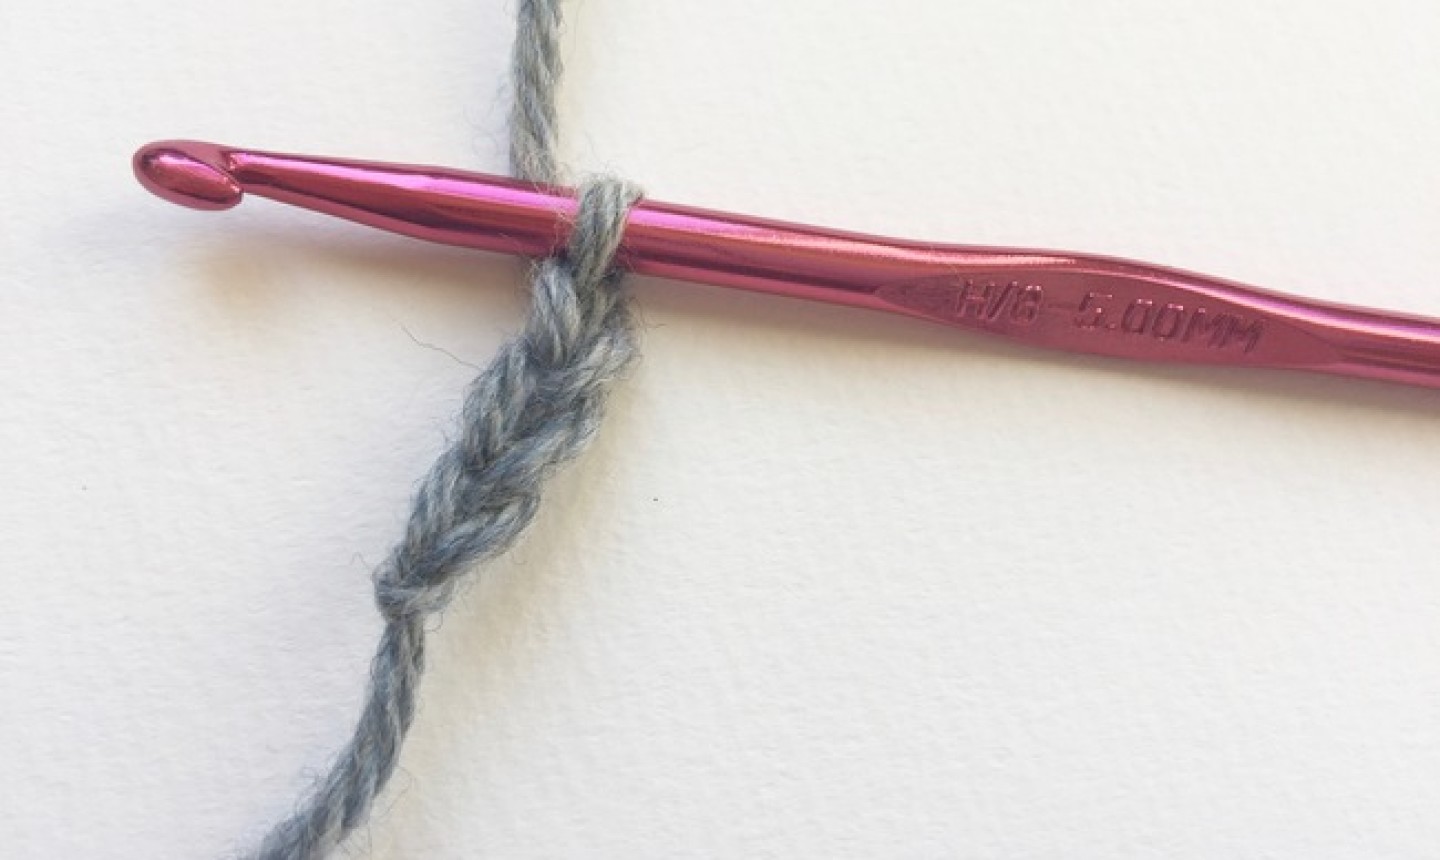
Chain three.
Dc into the first chain.
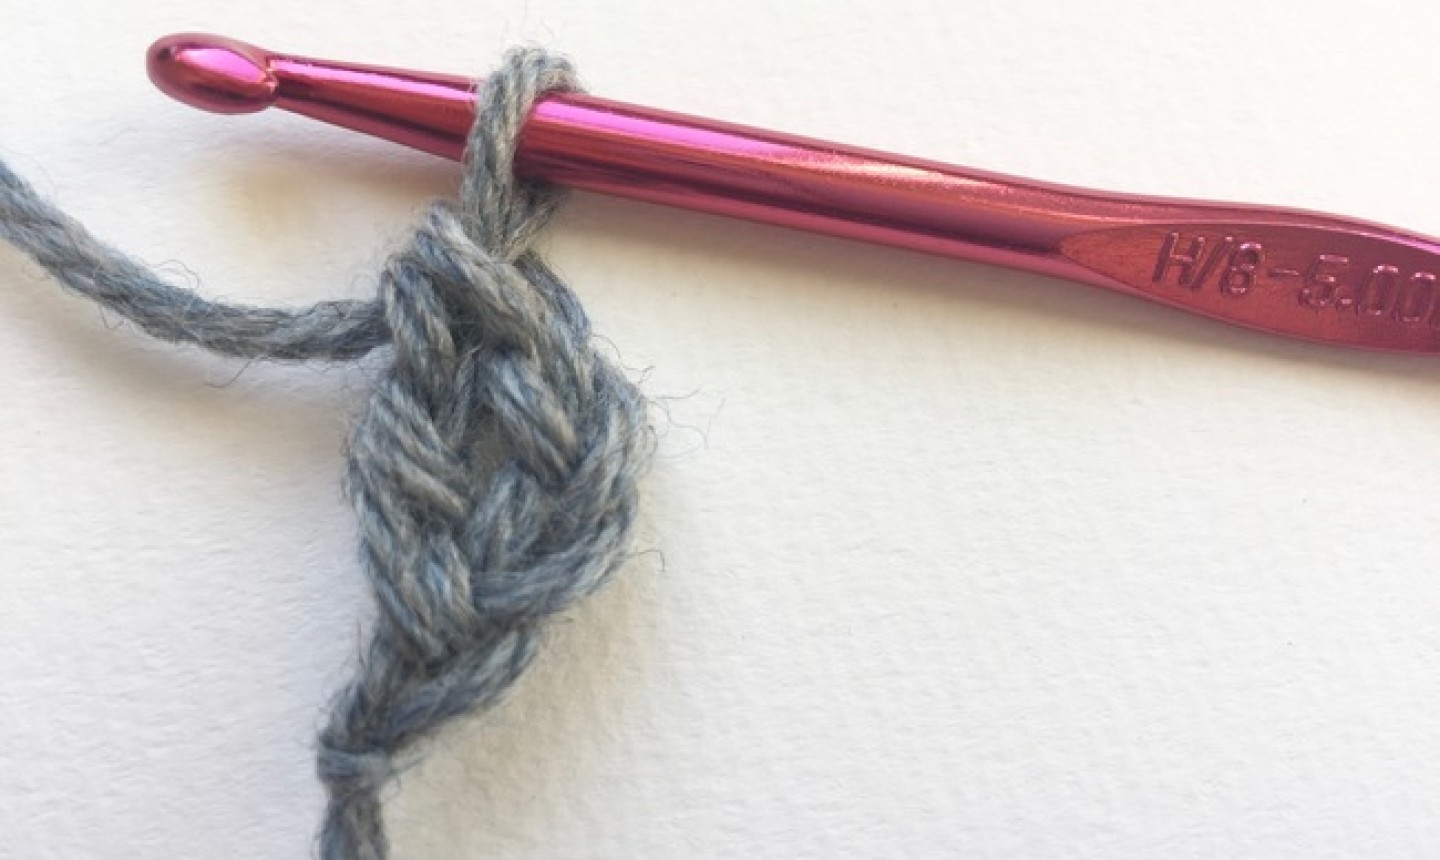
Dc again into the first chain. You now have a cluster of three dc because the first chain three counts as the first dc.
Chain two; this creates the space that will become your first corner.
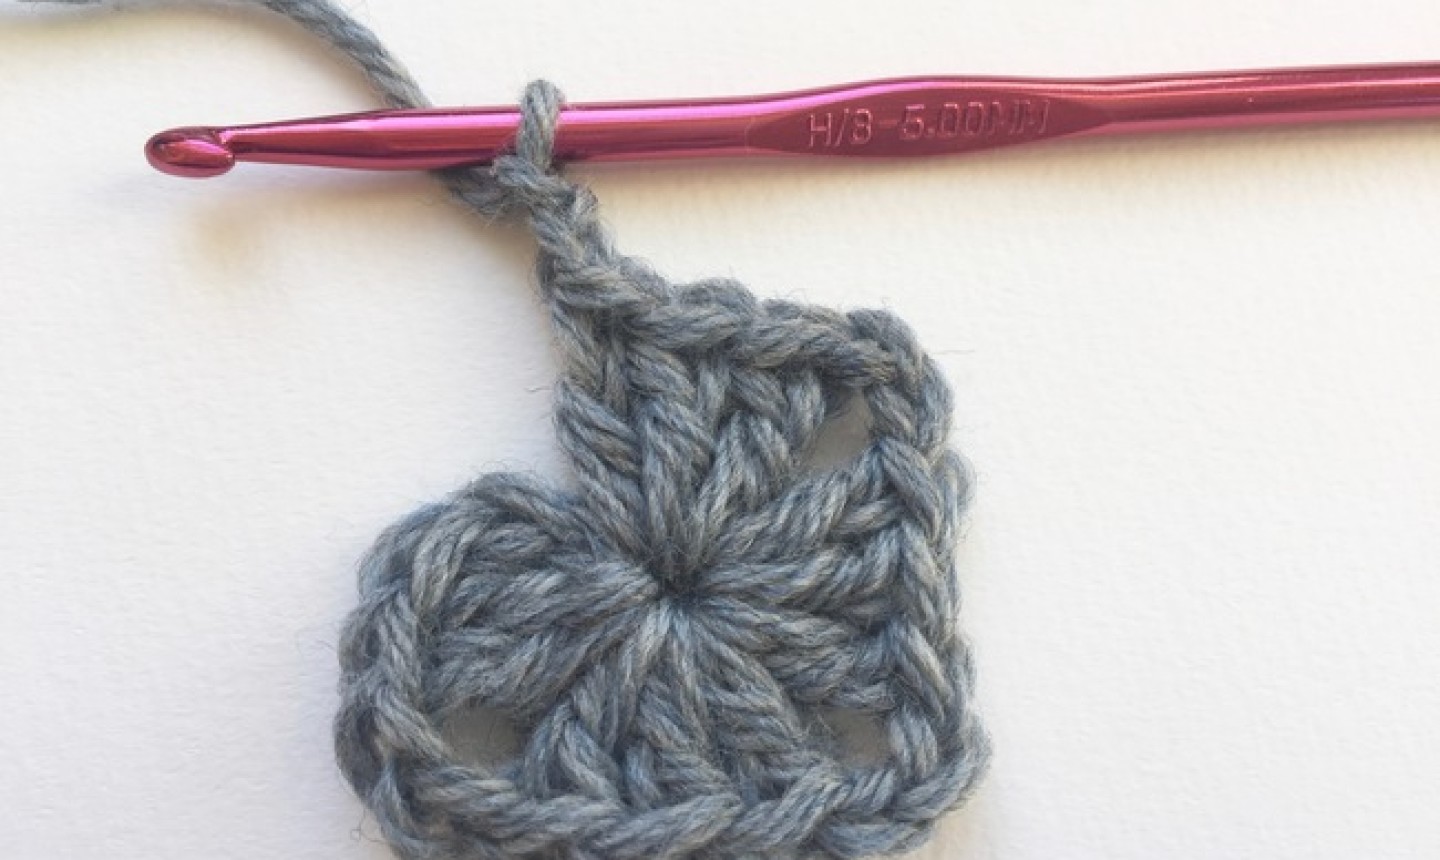
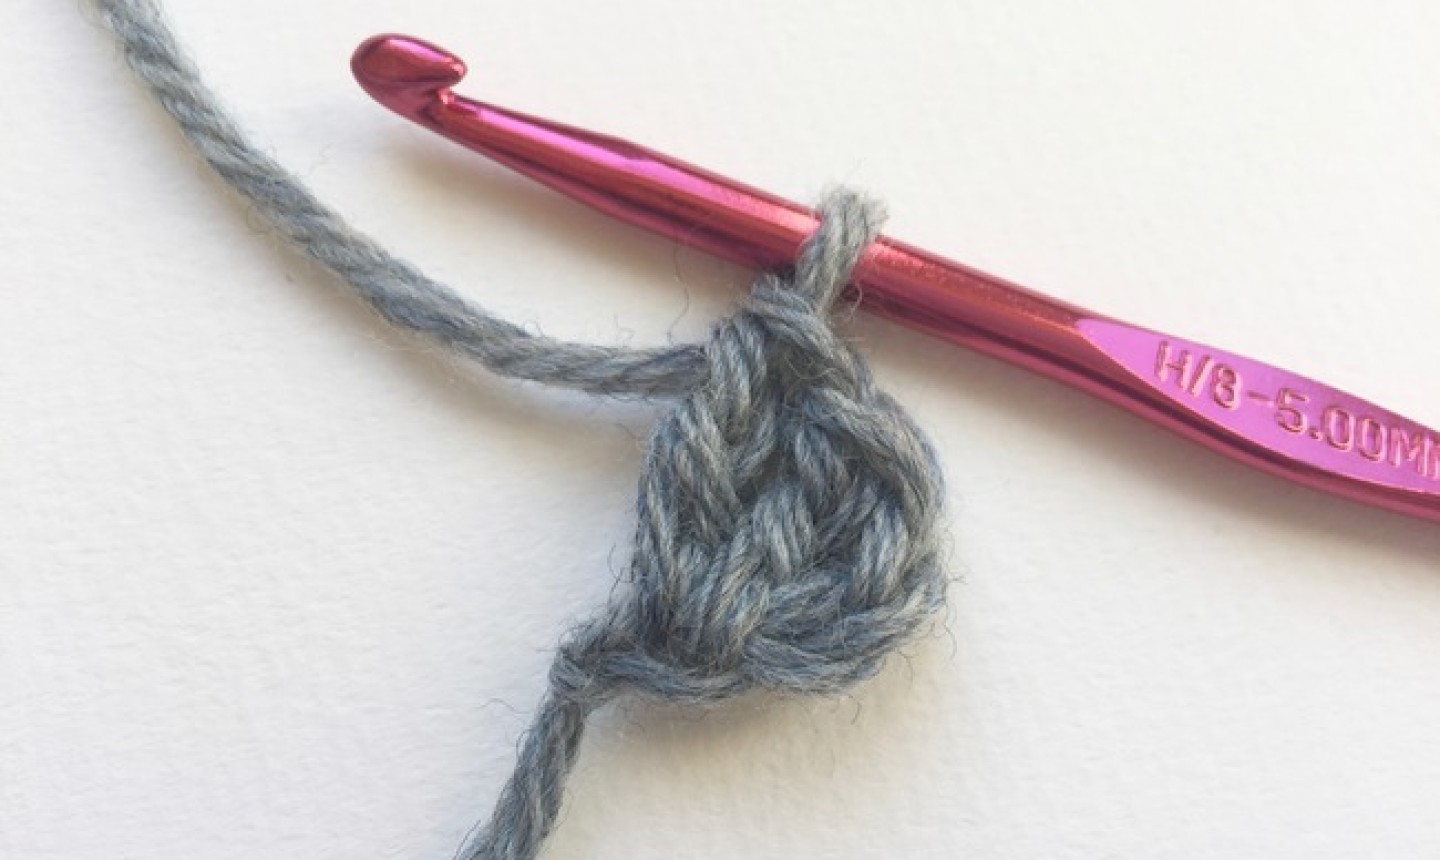
3 dc into the same chain spot. Ch 2 to make your next corner. Repeat that previous step twice more.
Slip stitch into the top chain of the first “chain three” to close the round. Your smallest center square is now complete.
Round 2

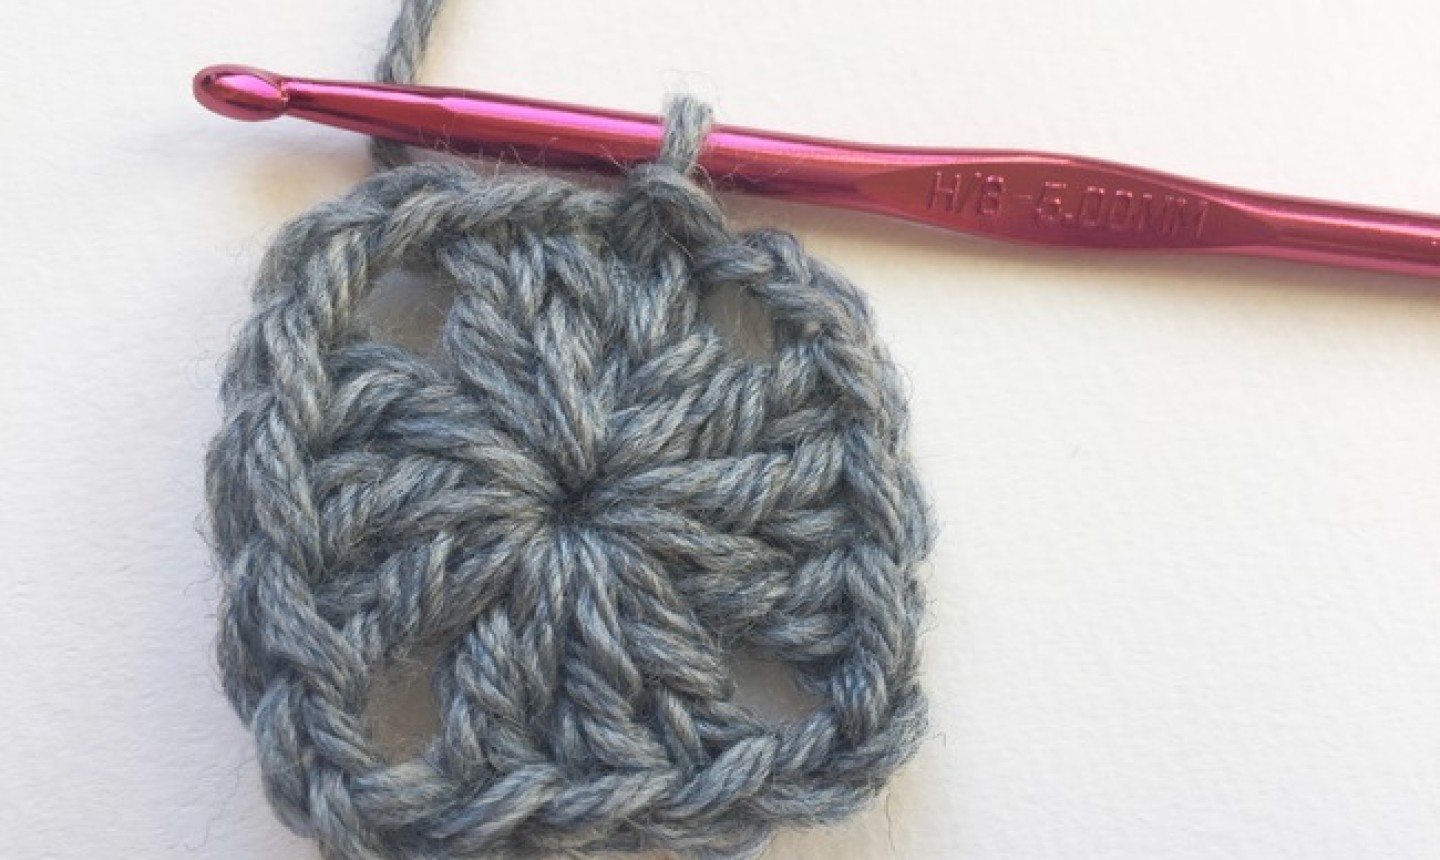
To begin the next round, you will chain 3. This counts as the first dc of the round.
Make 2 dc into the same corner as the ch 3.
In the following corner: 3 dc, 2 ch, 3 dc. This makes the new corner.
Repeat this in the next two corners.
To finish the first corner your worked in, make 3 dc, chain two and then slip stitch to the top of the first chain in the first “chain three” to close the round.
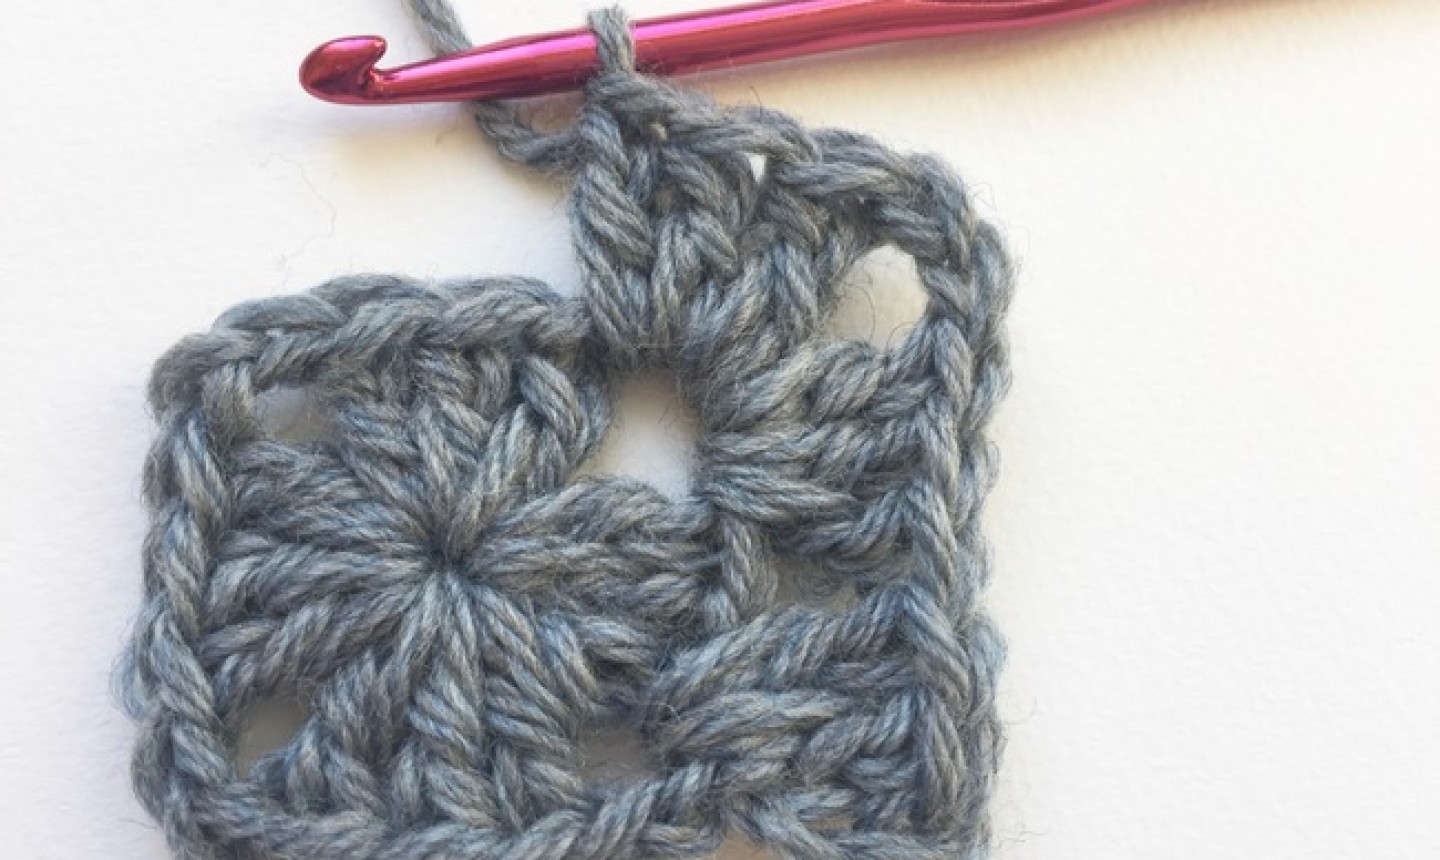
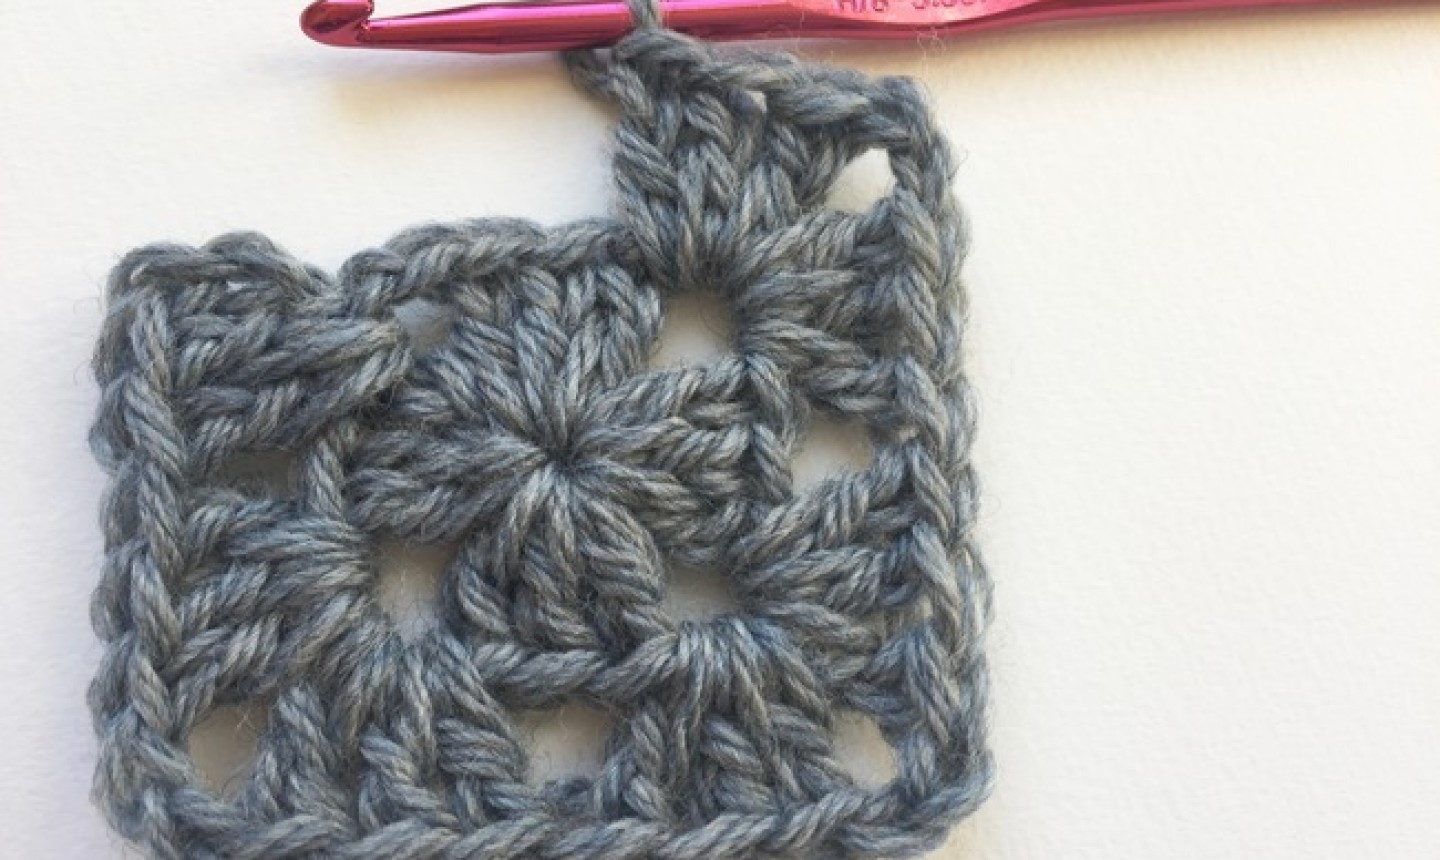
Round 3
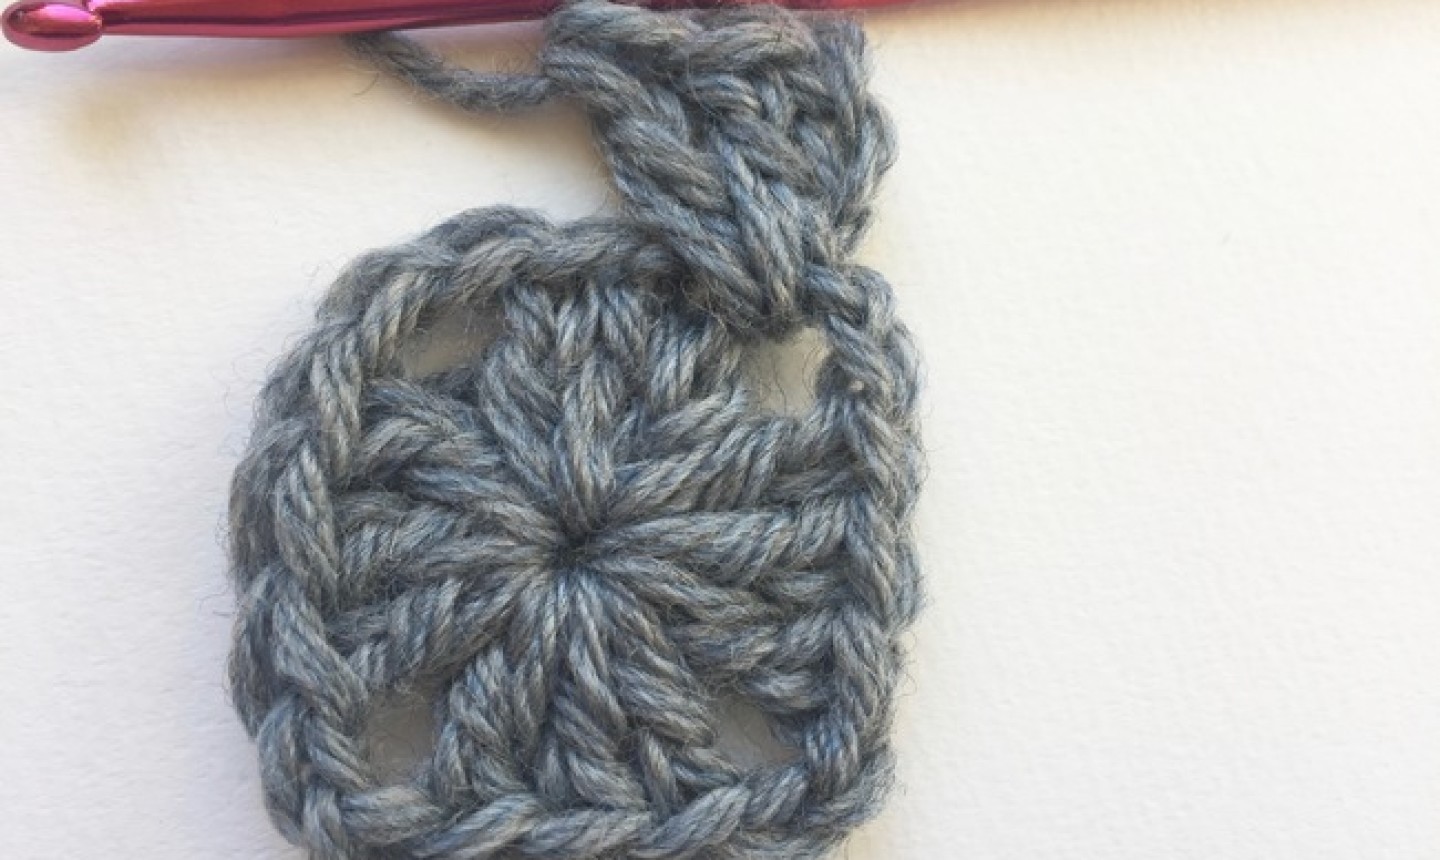
Your next round begins the same way as round two. Chain three and then 2 dc into the same corner.
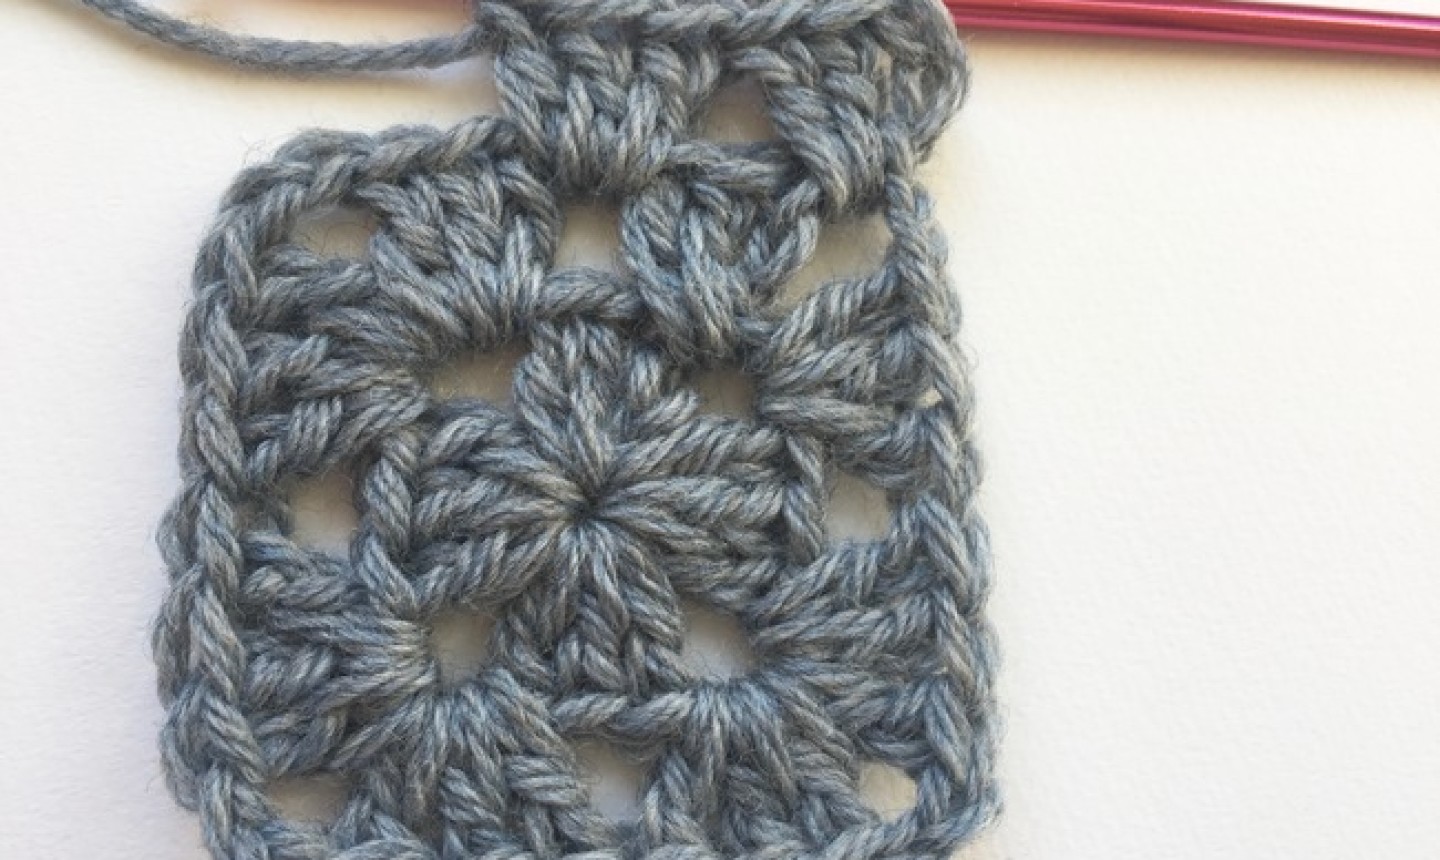
You’ll see that the next space is not a corner but just a space. Make 3 dc in this space.
Your next space is the corner, so you’ll make 3 dc, 2 ch, 3 dc into the corner. Repeat the previous two steps around the square. When you get to the corner you started in, make 3 dc, ch 2 and sl st to the top of the first chain 3 to close the round.
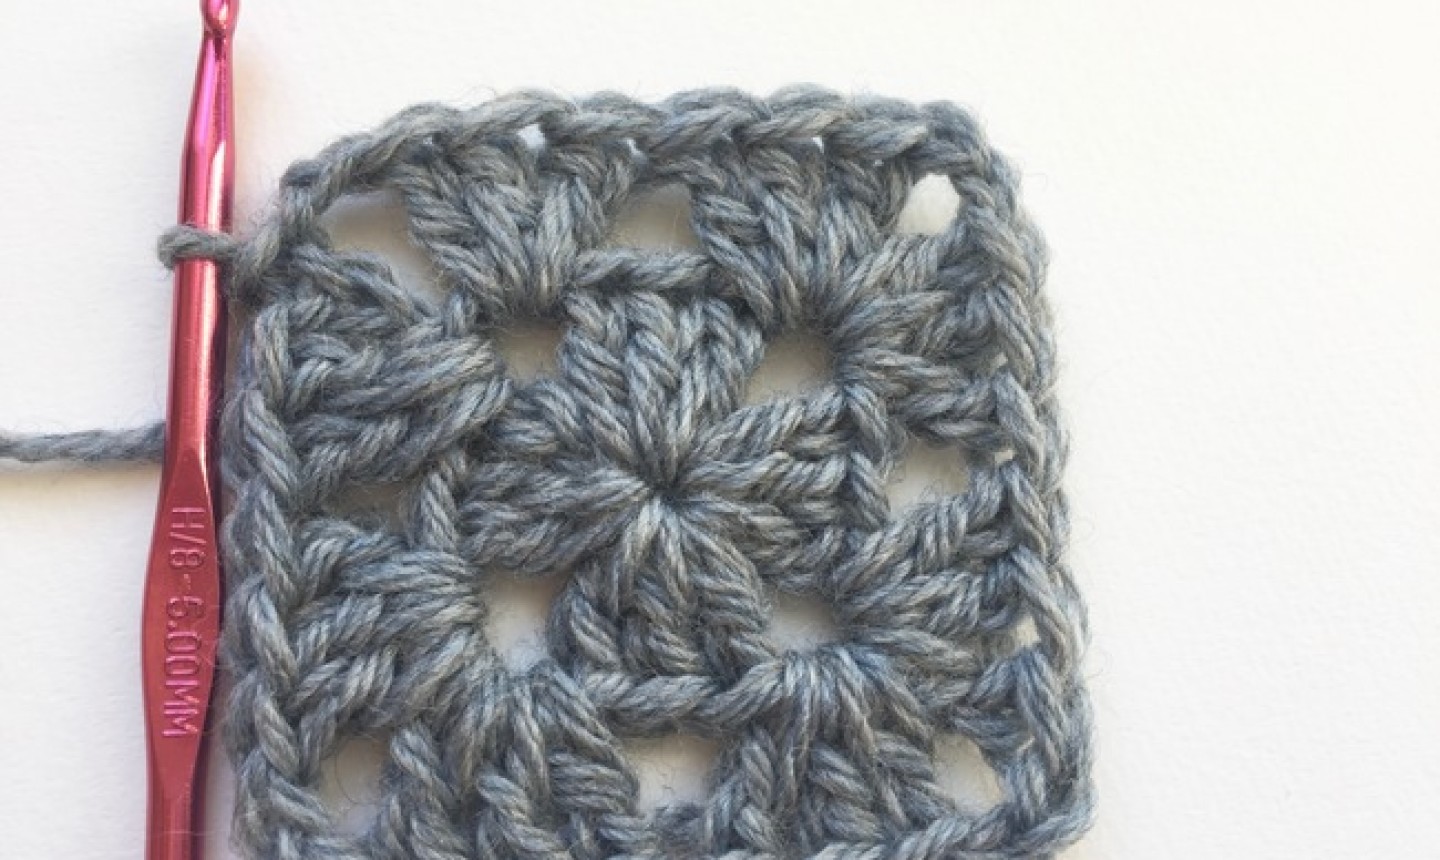
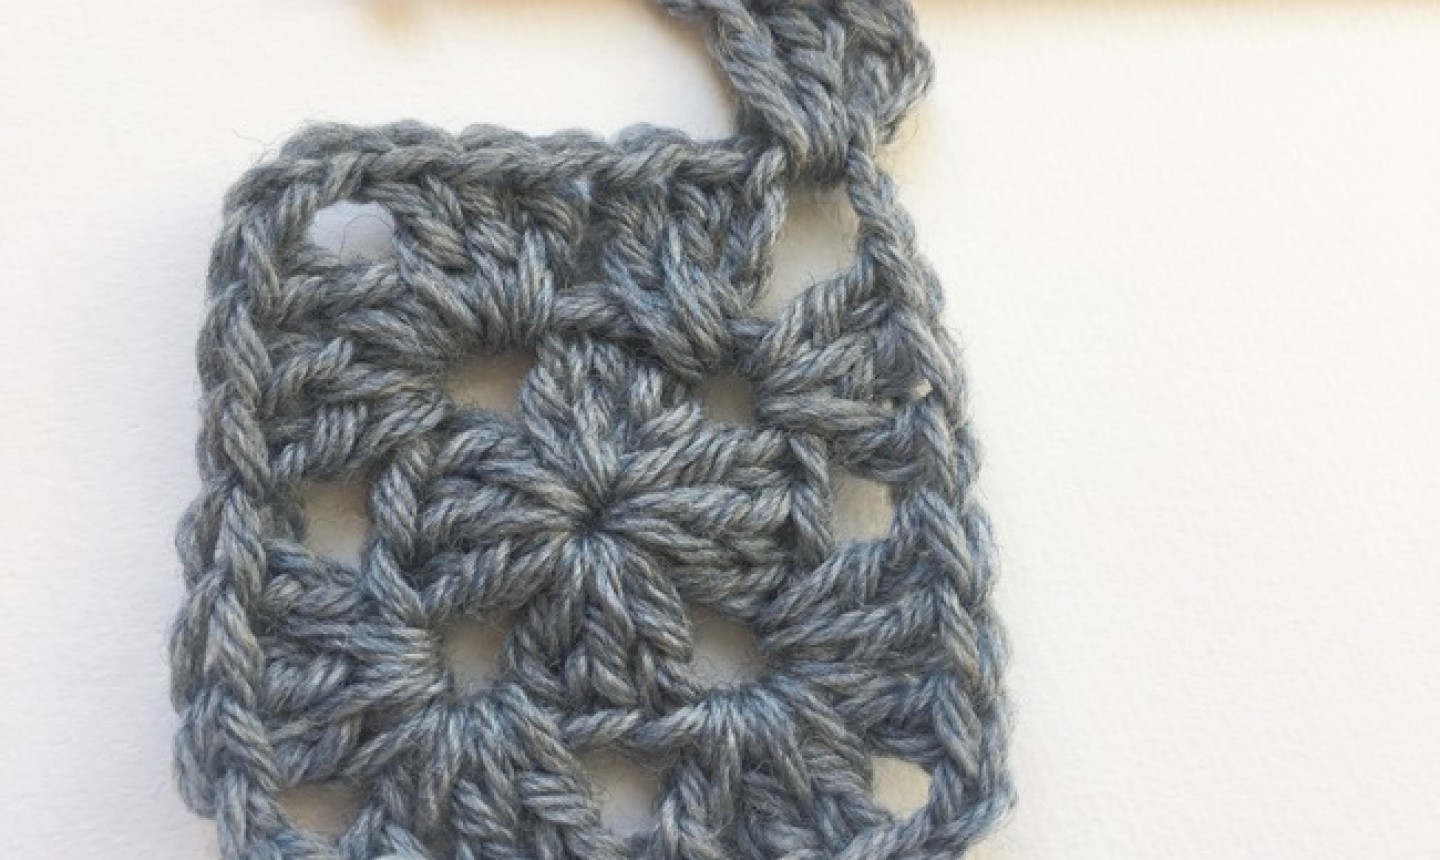
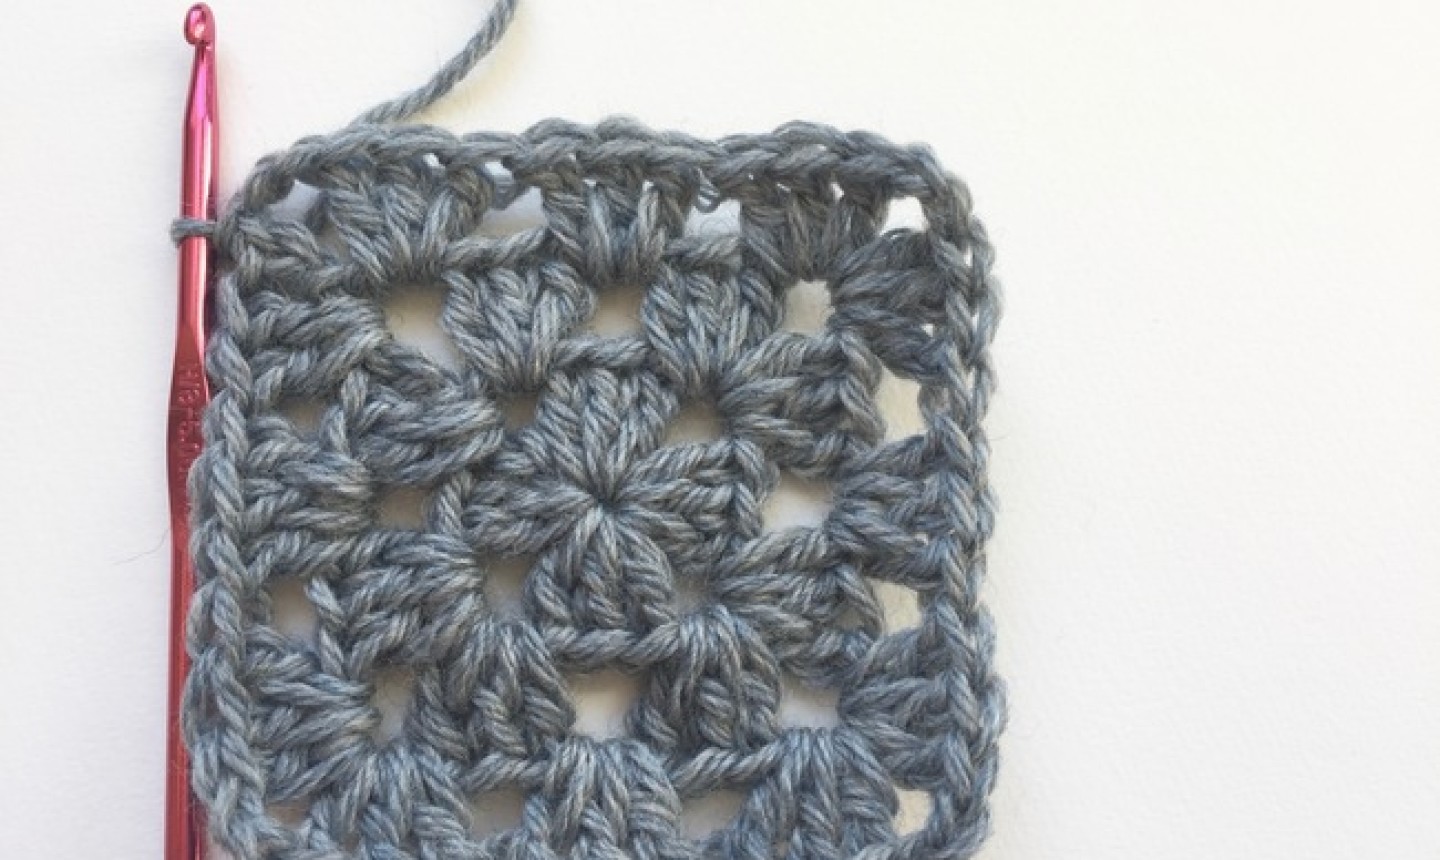
Round 4
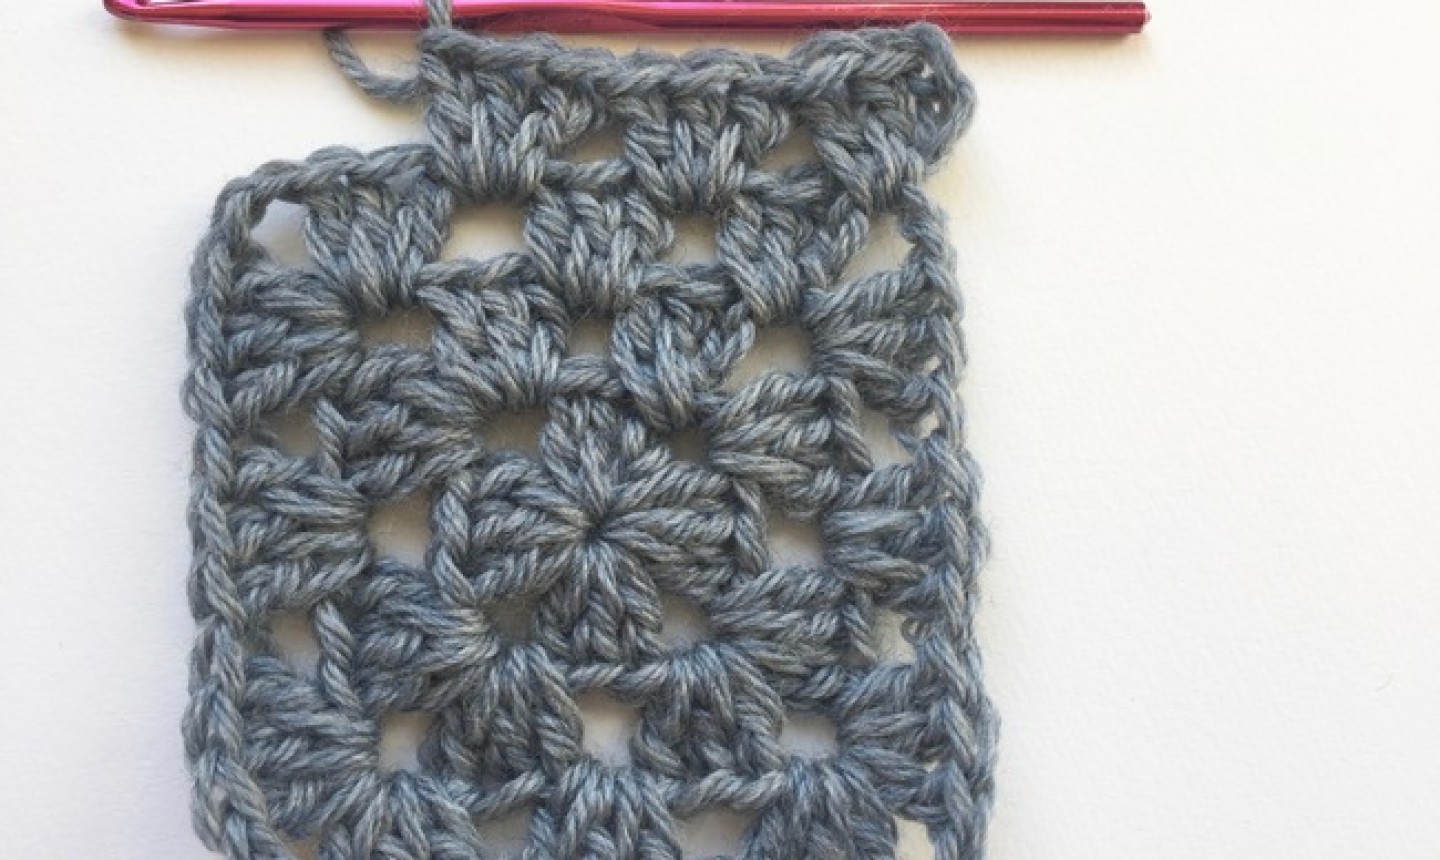
Round 4 is similar to Round 3 except that you are now working with a larger square so there will be two spaces in each row between each corner.
You can continue increasing the size of your granny square to make it as large as you like. Simply work 3 dc, 2 ch, 3 dc in each corner and 3 dc in each space, joining at the end of each row and beginning the new round with a ch 3 for the first dc stitch.
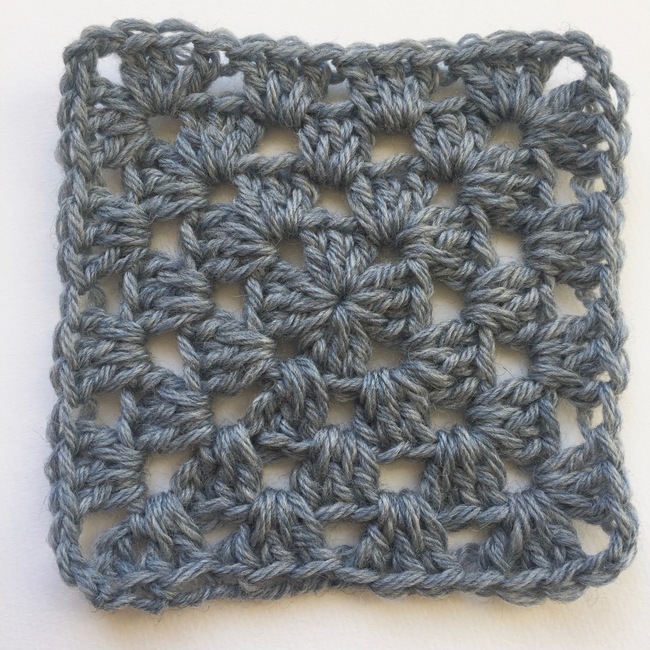
The classic crochet granny square usually features about four or five rounds. But you can make a mini-square as small as two rounds, or just keep on stitching until you have a big, square blanket!
Variations
There’s definitely more than one way to craft a granny square. You can start with a crochet ring, or go full-on magic circle. Plus, don’t forget about color!
Crochet Ring
Instead of starting your granny square by working into a single chain, join your chain into a circle and work your first round into the circle. This method will give you a more pronounced hole in the center of your square.
Magic Circle
If you want a tight center to your square with no holes, try using a magic circle to start your granny.
Multi-Color Squares
If you want to work some of your rounds in different colors, here’s how:
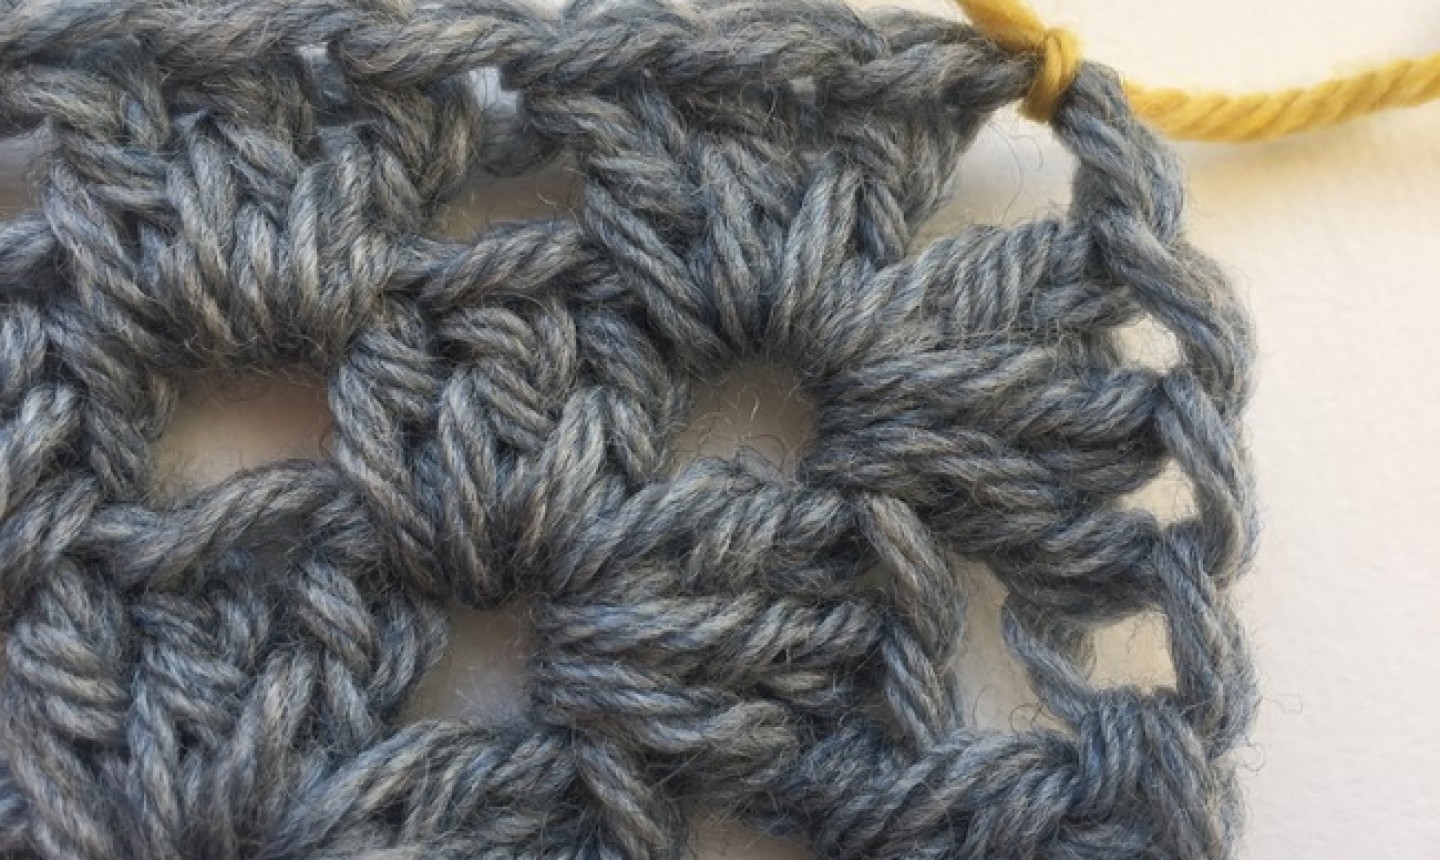
At the end of the previous round, fasten off and weave in ends. Join new yarn in any corner by simply tying it on.
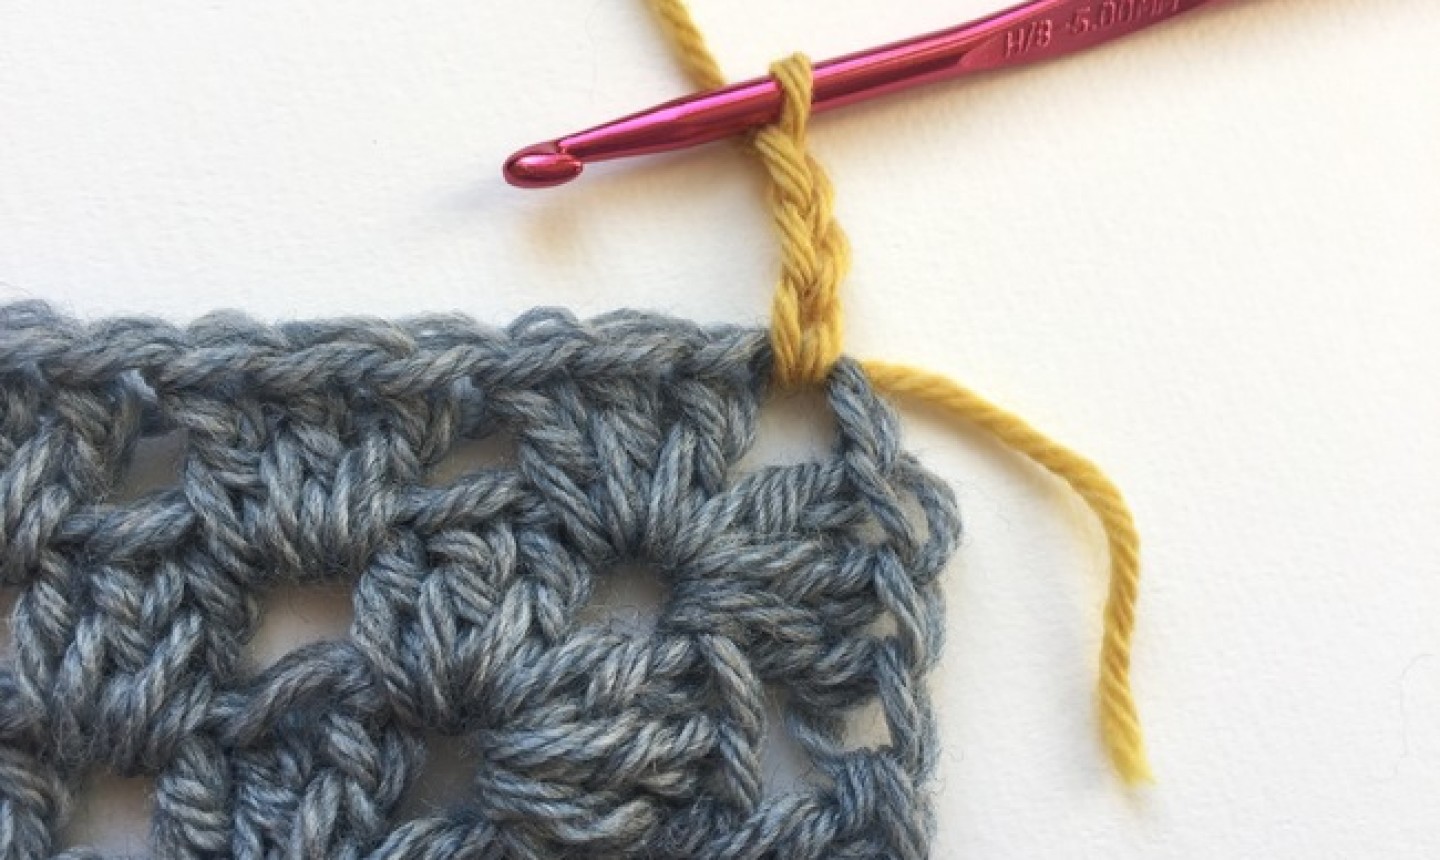
Chain 3.
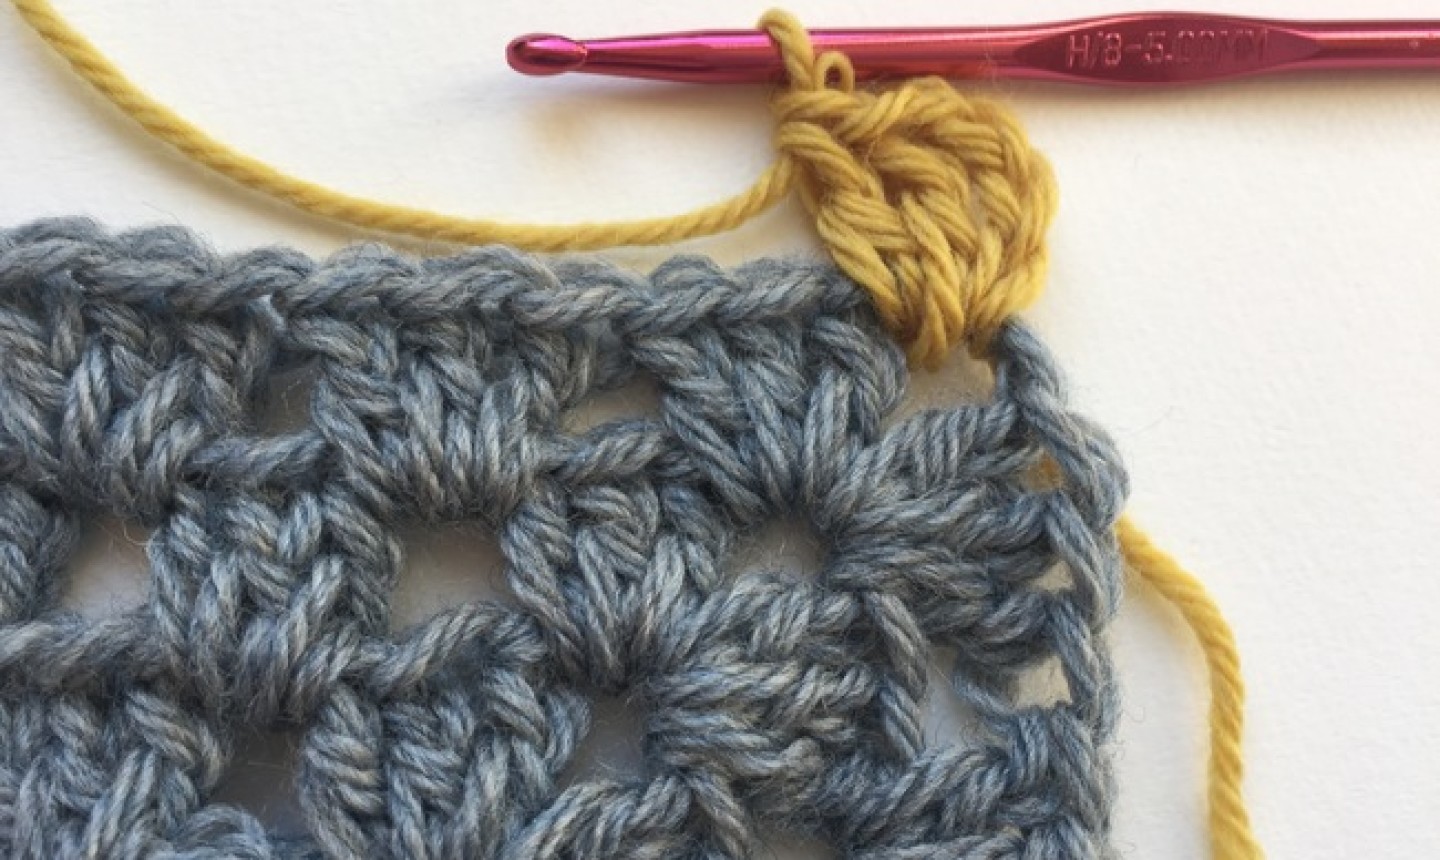
2 dc in the same corner chain space.
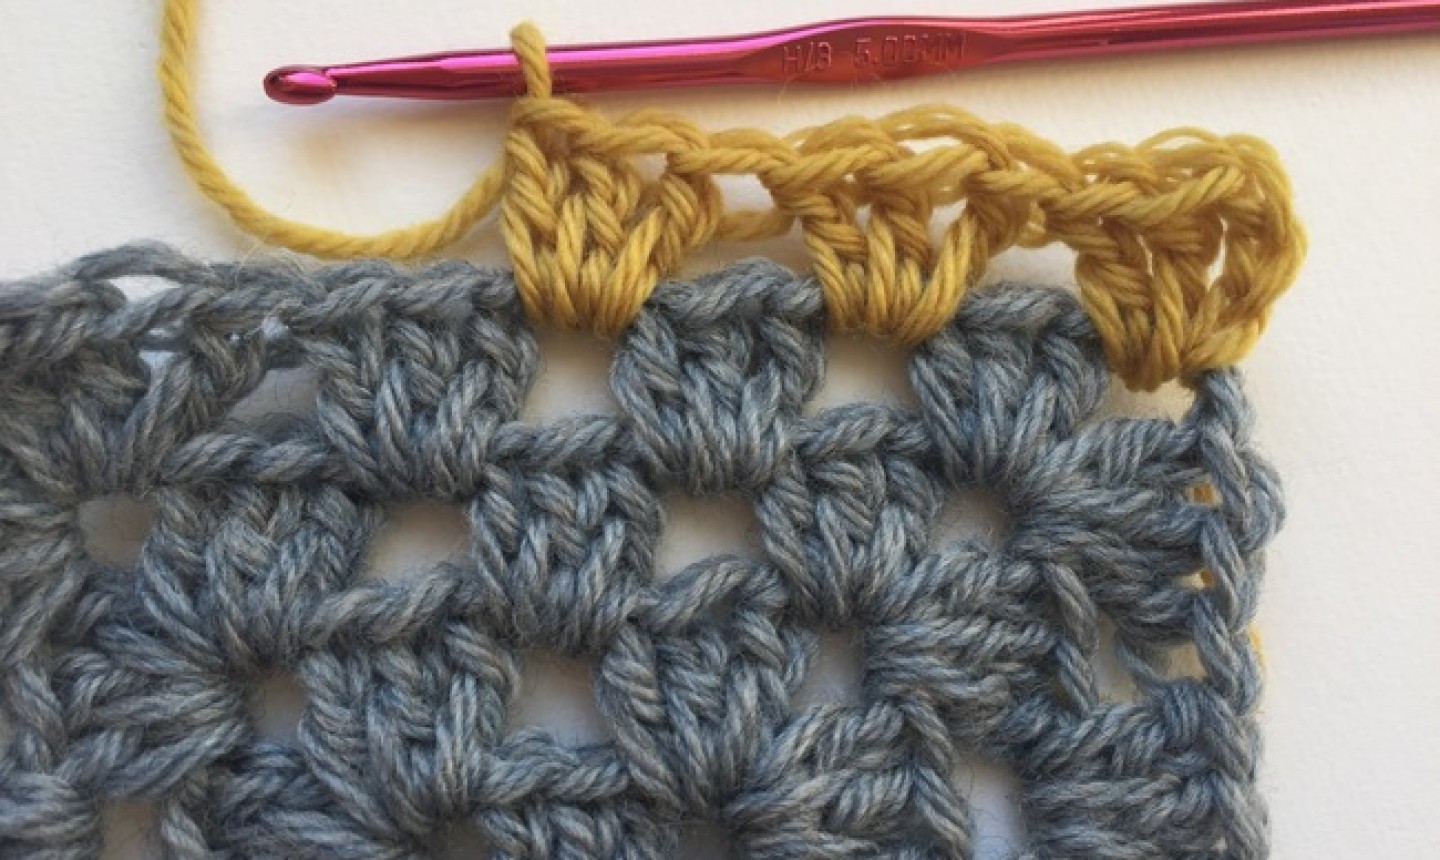
Proceed around the square as normal.
Ta-da!
Excellent instructions 😃
You are instructions are very understandable. Unfortunately, I am so new at crocheting that I am just learning how to change, stitch, and position my fingers the correct way. I guess it’ll take me a while before I make this pattern. Thank you for your great instructions.
I have a premium membership. Do I need to pay for this class?
I am trying to teach someone who is left-handed to crochet, specifically granny squares. It's been very difficult for both of us. Hope this will help.
Thanks!
Crochet
Easy to follow. Thank you for the beautiful inspiration!!!
Hello . this is my favorite website to follow. These are lovely patterns https://paparnews.com/crochet-pretty-doll-dress-pattern-for-free-step-by-step-crochet-doll-tops-patterns/
Would like to try don’t know how
I would like a tutorial on how to join the squares together, please.