
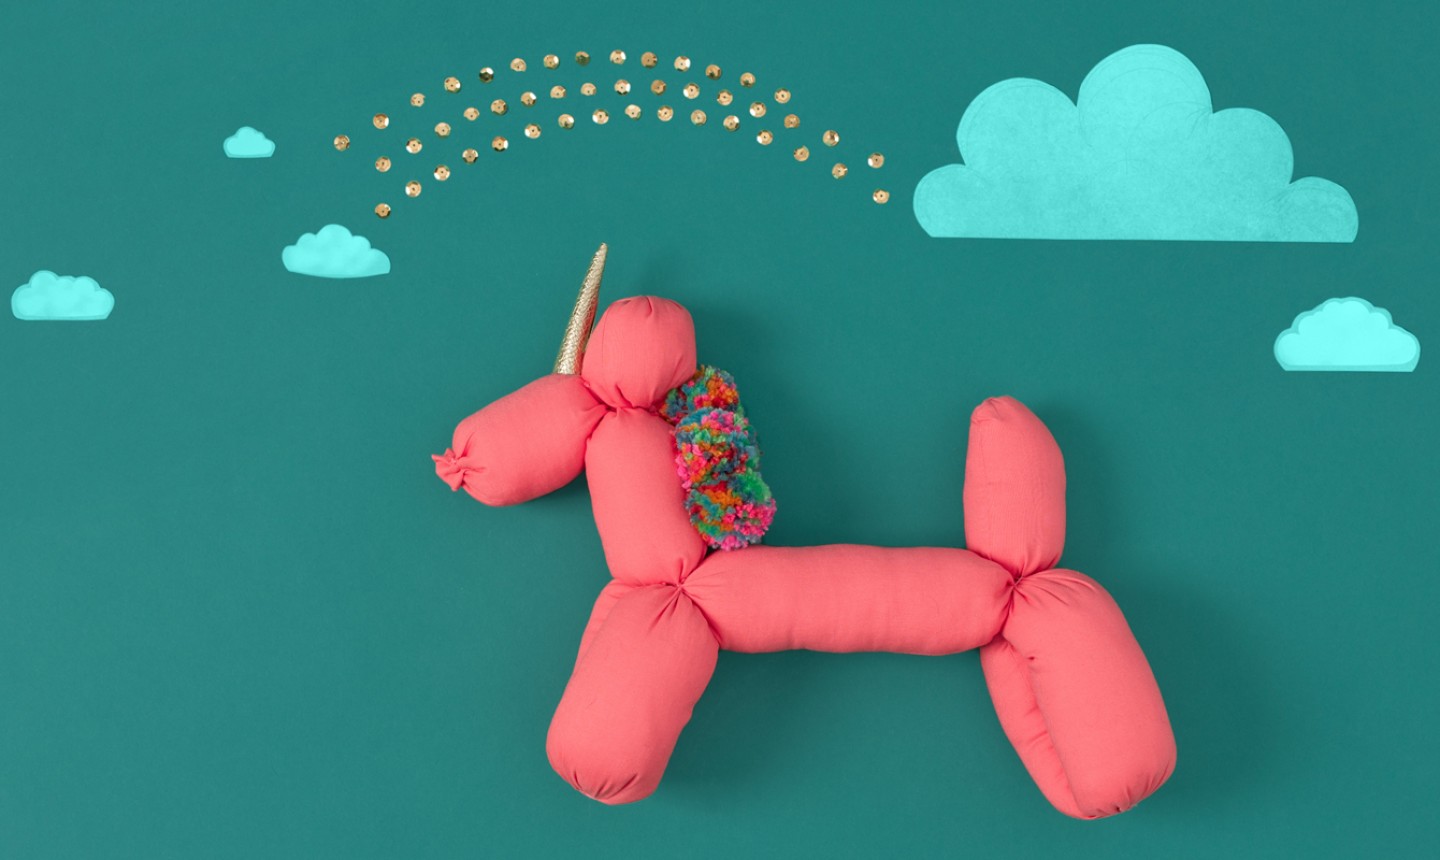
We’re not clowning around here: This balloon animal-inspired project is the most fun you’ll ever have with a throw pillow! Jo Gick has the easy tutorial for turning a fabric tube into this unicorn magic.
Unicorn Balloon Animal Pillow
Level: Easy
What You Need
Instructions
1. Trim the Fabric
Start by cutting your fabric lengthwise so that it’s 2 yards long by 6″ wide.
2. Sew a Tube
Once your fabric is cut, fold it in half lengthwise, right sides together, and sew along the long edge with a ¼” seam allowance. When you reach the end, turn and sew across the short end. You should now have a long tube that’s closed at one end. Turn the whole thing right side out.
3. Stuff and Shape It
Now that you have a long tube, start adding the stuffing in sections, twisting and securing as you go. (You may need to use a long dowel or stick to push it in.) First, fill your tube with 3½” of stuffing, making sure that it’s all the way to the end and dense enough to hold its shape. Then, twist your fabric and tie it off tightly with embroidery floss. (If it won’t stay in place, use your embroidery needle to sew a few stitches to make sure it’s super secure!)
Stuff another 4½” for the first of the hind legs, then twist and secure with embroidery floss. Stuff and tie off a second 4½” leg. Twist and stitch those two legs together at the top, so they form the looped hind legs.
Stuff another 6½” for the body, then twist that off and secure it as you did before.
Make the second set of legs by stuffing another 4½” of your tube, twisting and securing it with embroidery floss, then doing the same with second 4½” to create the front legs. Tie those two together at the top so they form the looped leg shape.
Now stuff, twist and secure another 4″ section for the neck.
To make the ears, you’ll need to repeat the leg method above but with two 2½” sections for each ear. Secure them in a loop before ending with a 4″ nose. (Note: You will have some fabric tube leftover; feel free to use it to try another balloon shape!)
4. Finish the End
Once you come to the very end of the nose, you want to make it look like the end of a balloon. First, cut your tube about 1″ from where you want the nose to end. Fold the raw edge in, about ½”. Sew a simple running stitch around the circle, going through both layers. Pull on your thread tightly to close up the end — it should pucker like the end of a balloon.
5. Add the Details
To give your unicorn a rainbow “mane,” make three small pom poms using your yarn scraps. Change colors often as you’re wrapping the pom pom maker in yarn to create a rainbow effect. Once your pom poms are complete, stitch them onto the unicorn’s neck with your embroidery thread.
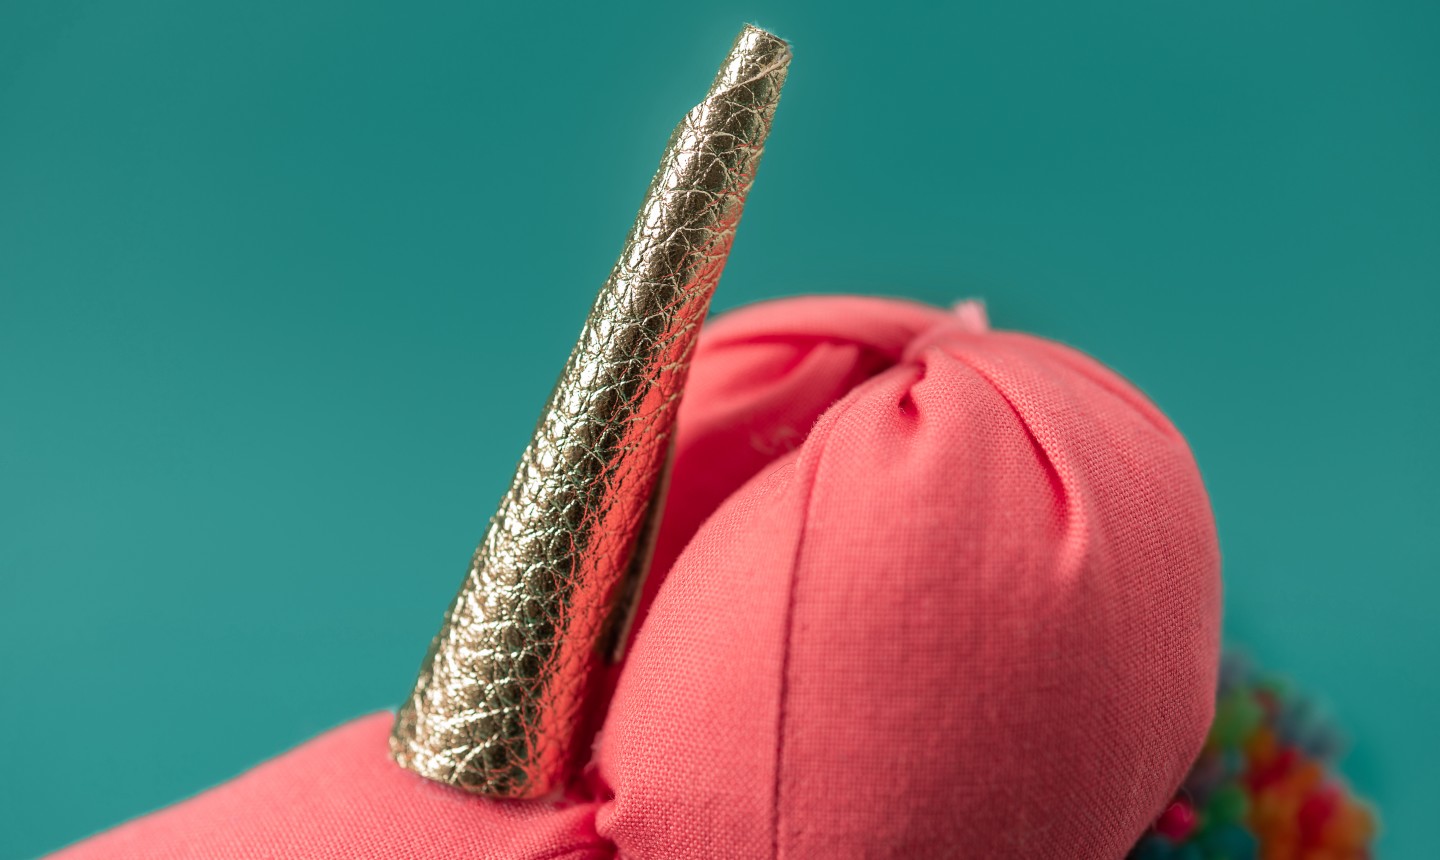
For the horn, cut a piece of faux gold leather into a triangle approx 4” high and 3” wide. Loosely roll the leather on itself to create a horn; secure with hot glue. Glue the base of the horn in place and tack with embroidery floss, if needed.
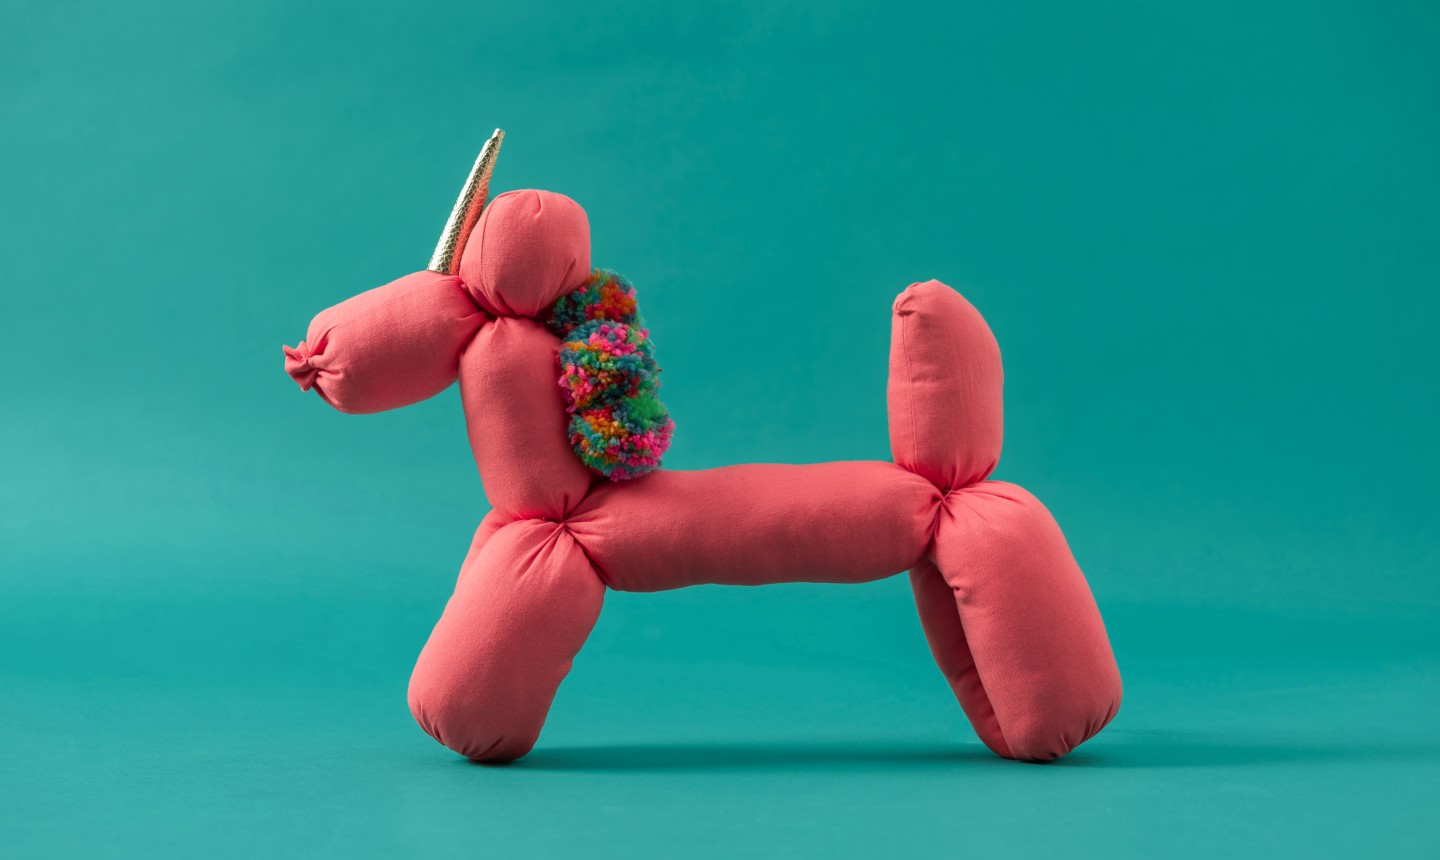
And you’re done!
Share tips, start a discussion or ask one of our experts or other students a question.
Already a member? Sign in
No Responses to “This Unicorn Pillow Will Make Your Kid's Dreams Come True”